This is the third installment of creating triple boot system of the Surface Pro 3. In the previous post, I covered how to install Kali Linux. If you’re interested in installing other operating systems on your Surface Pro 3, I recommend you start with part one to get your system ready.
This time round, install ArchLabs Linux, the rEFInd bootloader, and do some clean up to keep all your installations running smoothly.
Installation #
Similar to the Kali installation, I wont go over in too much detail how to install ArchLabs. As the developers have made the installation process very easy to work through. Same as before, there are a couple of steps during the installation process that need to be addressed.
Just a forewarnig, there is no GUI installer, you are thrown into a shell and are required to run archlabs-installer to kick off the installation process.
If you’re not comfortable with the command line, fear not, this won’t be difficult to manage.
Although, with the Surface’s screen and high resolution, it can be a bit strenuous on the eyes.
Mount and Format Partitions #
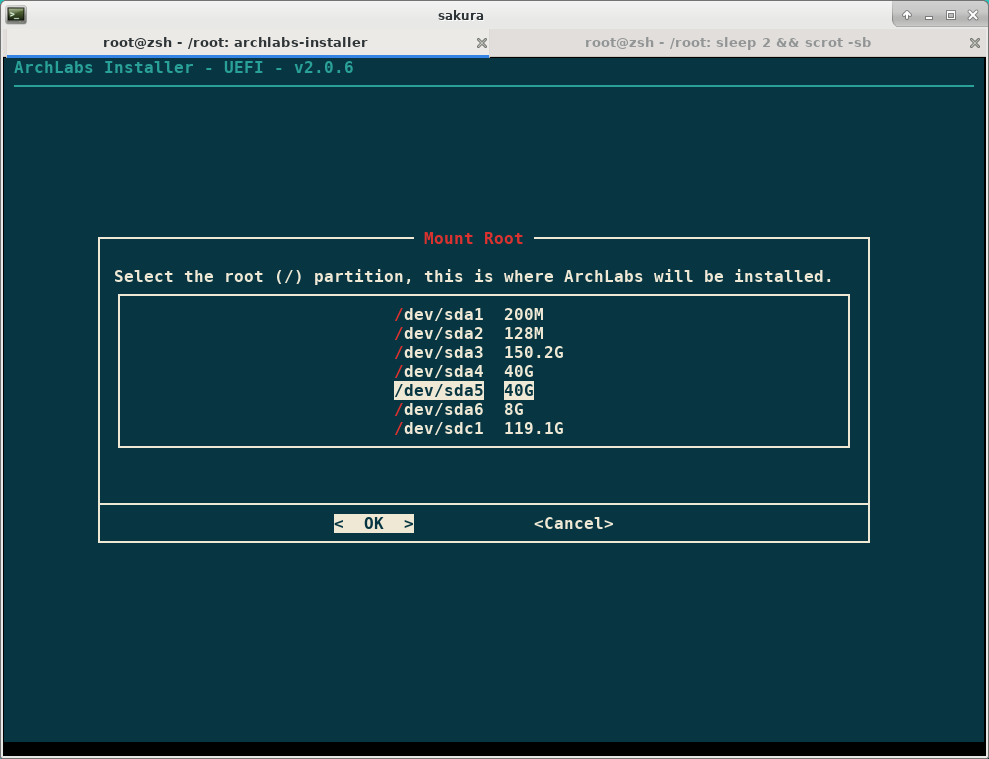
Mount Root #
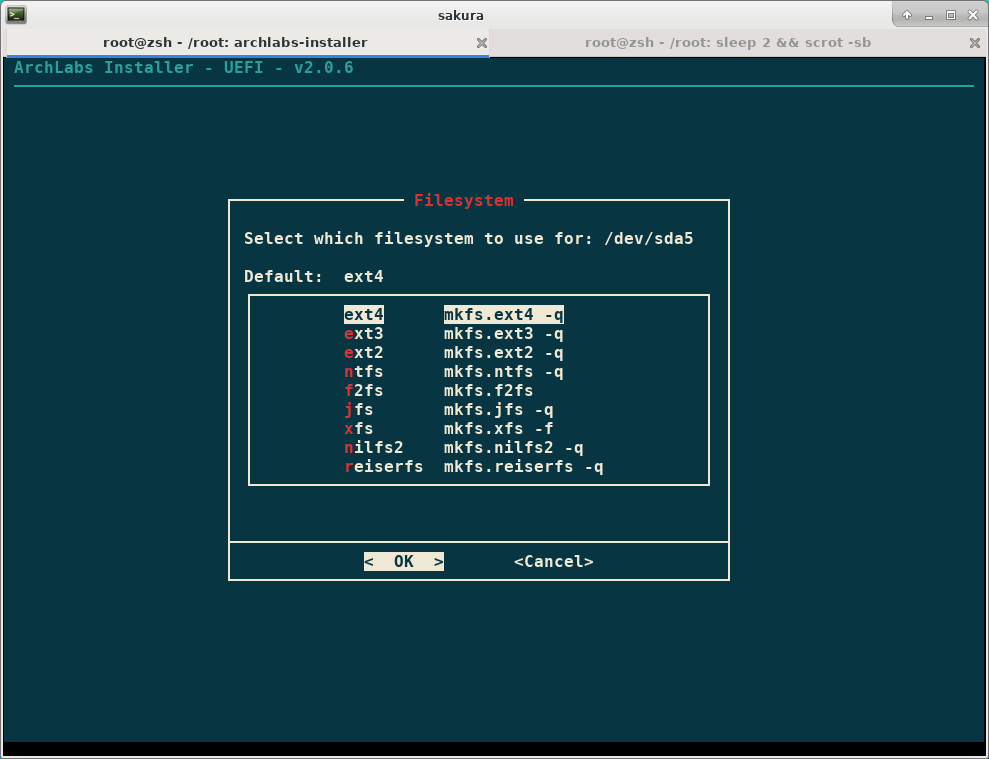
ArchLabs, as of 2019.01.20, does not allow the root partition to be formatted with btrfs.
You can choose ext4 and then try to convert it to btrfs post install, but thats on your own.
Check out
the discussion about it and
a work around.
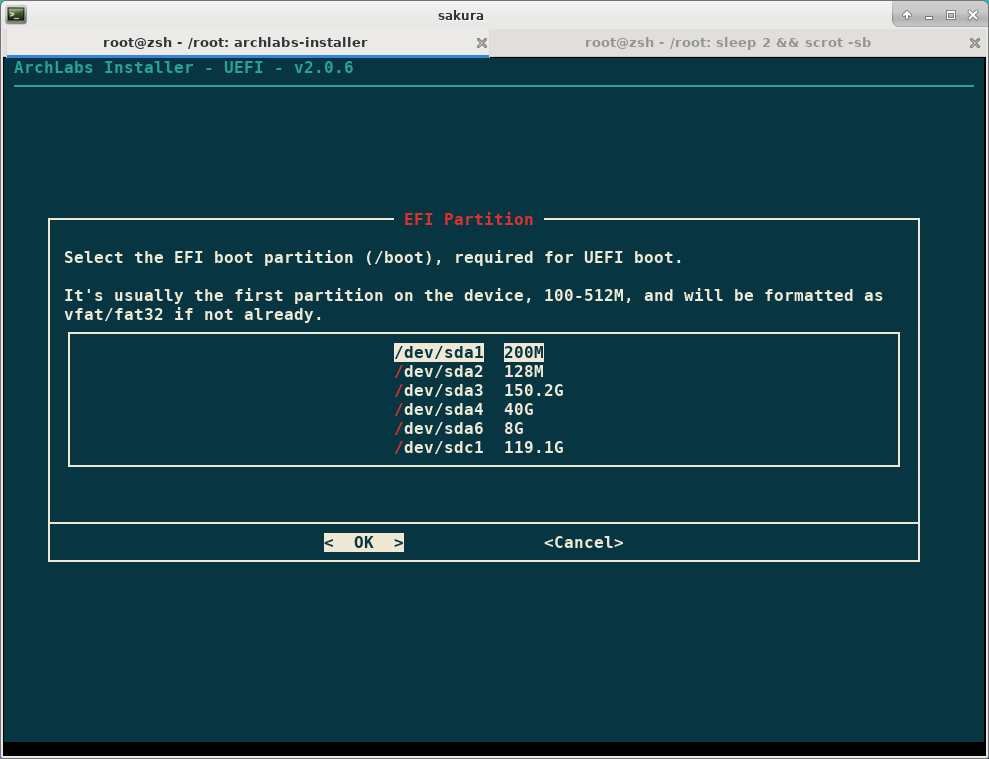
EFI Partition #
Select your EFI partition (most likely /dev/sda1) as the /boot partition.
You will destroy your Windows bootloader, rEFInd, grub, everything you need to boot your system.
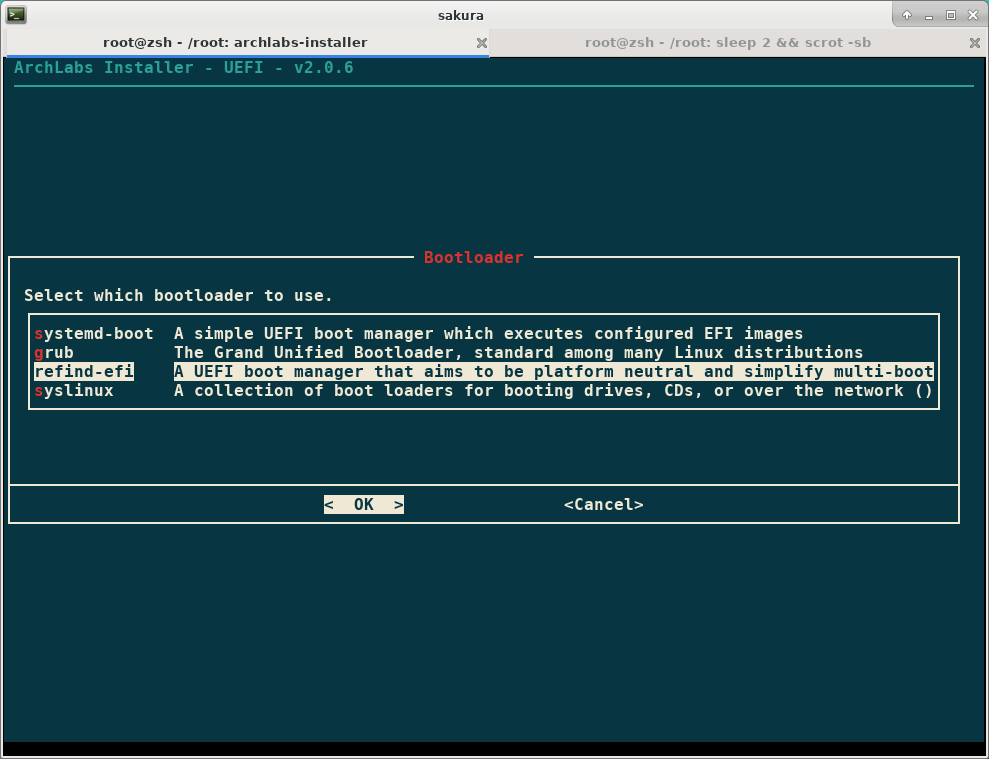
Bootloader #
ArchLabs Linux asks you to choose the bootloader of your choice. Since our end goal is to use rEFInd, select it and have ArchLabs install it for us. This saves us the trouble of installing it manually.
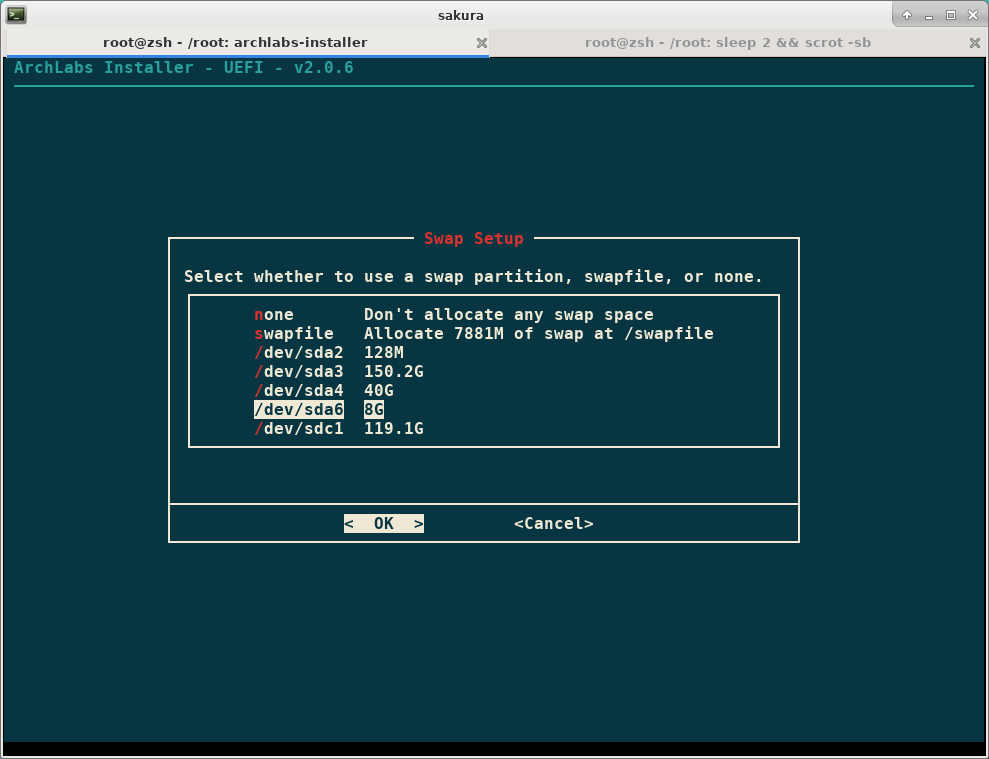
Swap Setup #
The installer will ask what you want to use as a swap partition, select the same partition you selected for Kali Linux.
UUID that Kali Linux’s /etc/fstab entry will not recognize, causing some dely when booting.
I could not figure out a way to assign the drive without having the installer reformat it.
We’ll fix all that in the post-install section.
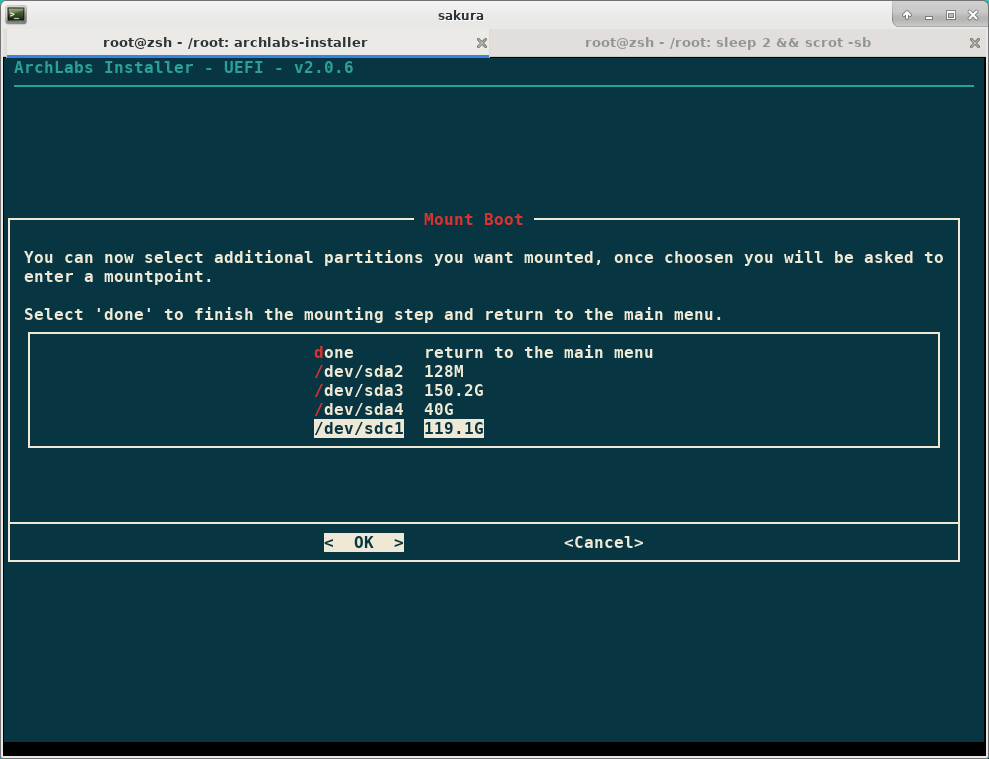
Mount Additional Partitions #
Finally, you’ll have a chance select other mount points.
The only mount point left to worry about is /home.
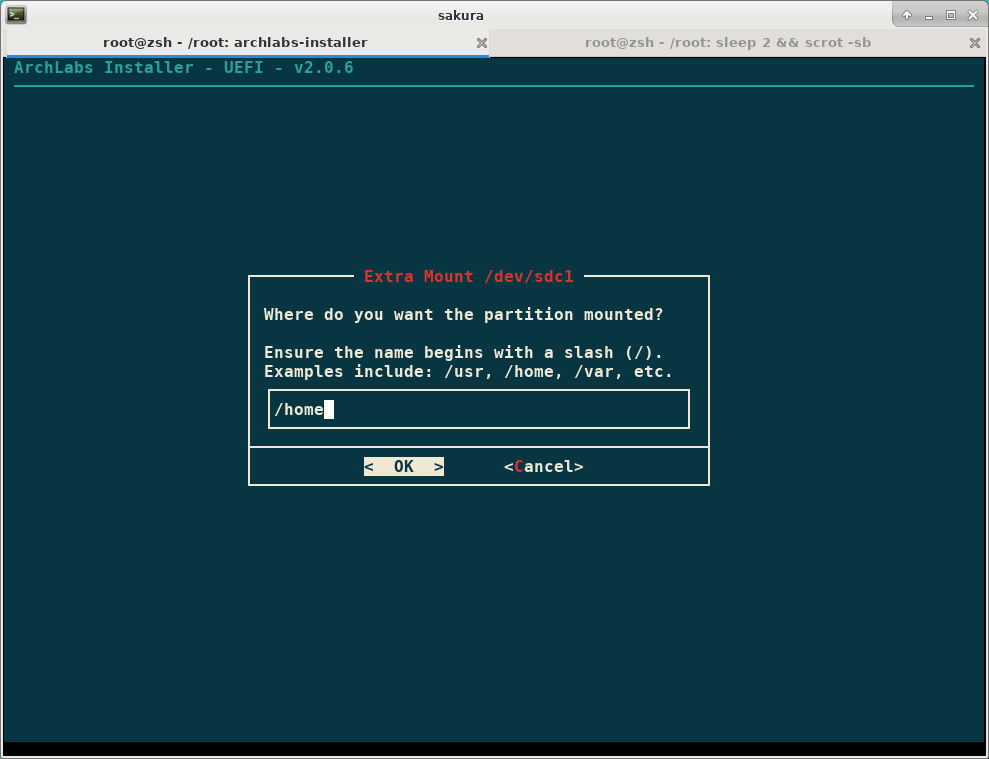
From the list of devices, select /dev/sdc1 (or the actual device of your microSD card).
When prompted, type home and select OK.
Finished with the partition section! The only other important part to configure is the user. After that, it is mostly personal preferences and software choices.
Create User and Set Passwords #
When choosing a username, do not use the same one that is used for Kali (if you created a regular user on Kali). Make sure to have different user names on each Linux installation. Otherwise it will cause conflicts with config files and software versions.
With that out of the way, you can continue to select your prefered software packages and desktop environments and finish the installation process. Personally, I am a fan of openbox and the defaults that ArchLabs provides for it. Dealers choice though!
After the installer finishes, reboot your machine!
Post Installation #
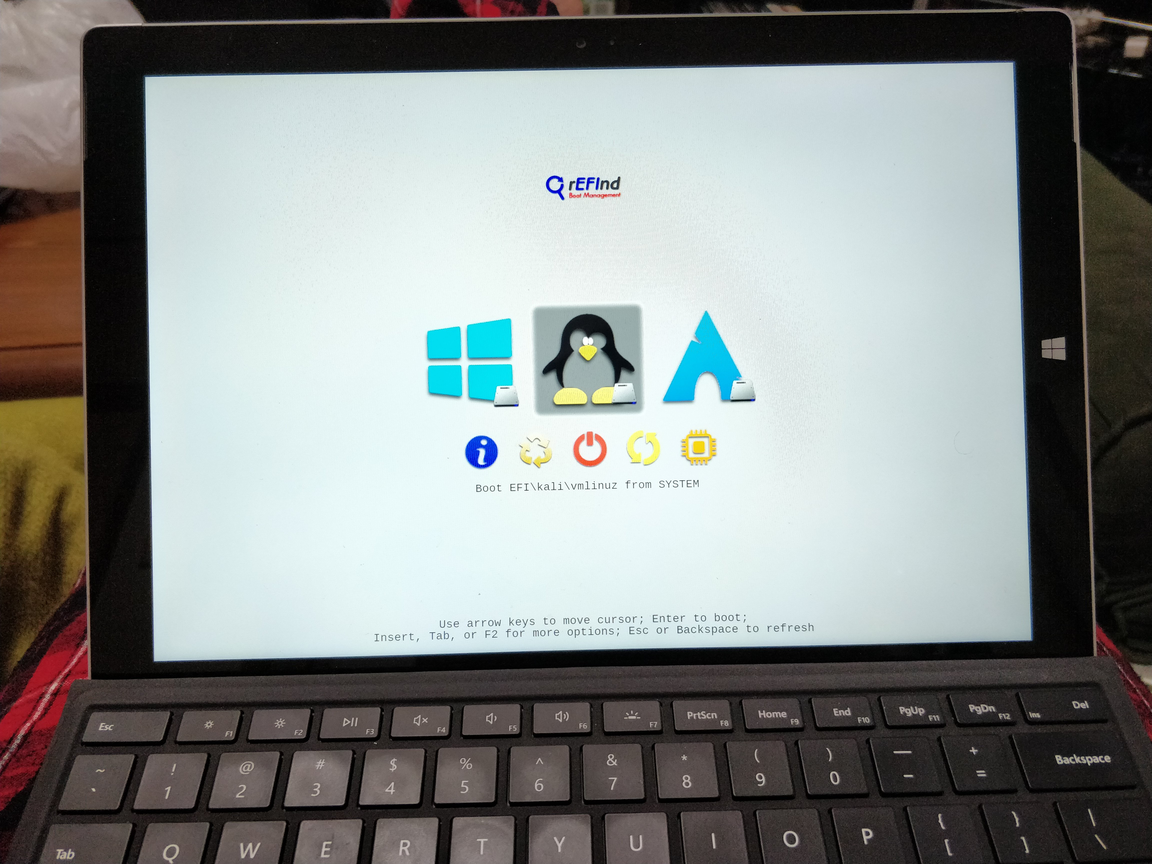
Once rebooted, you should be greeted with the default config for the rEFInd bootloader. Hopefully you’ll see 3 options: Windows, vmlinuz-linux, \EFI\kali\vmlinuz. Select vmlinuz-linux to boot into Arch.

Login and update the system (should be up to date already), and install the efitools and sbsigntools packages.
sudo pacman -Syyu efitools sbsigntools
Kernel Management #
Similar to the setup for Kali, the linux kernel needs to be moved (organized) in order to not conflict with other distributions.
ArchLabs Linux comes with a few other img files and a ready-made refind_linux.conf file (because we had install rEFInd for us), make sure to move everything to /boot/EFI/arch.
sudo mkdir -pv /boot/EFI/arch
sudo mv /boot/vmlinuz* /boot/initramfs* /boot/intel-ucode.img /boot/amd-ucode.img /boot/refind_linux.confg /boot/EFI/arch/.
Next, we’ll add some
pacman hooks to move the default /boot/vmlinuz-linuz and its supporting files to their more permanant home, the /boot/EFI/arch directory.
sudo cp surface-pro-config/arch/usr/share/libalpm/hooks/95-linux-move.hook /usr/share/libalpm/hooks/95-linux-move.hook
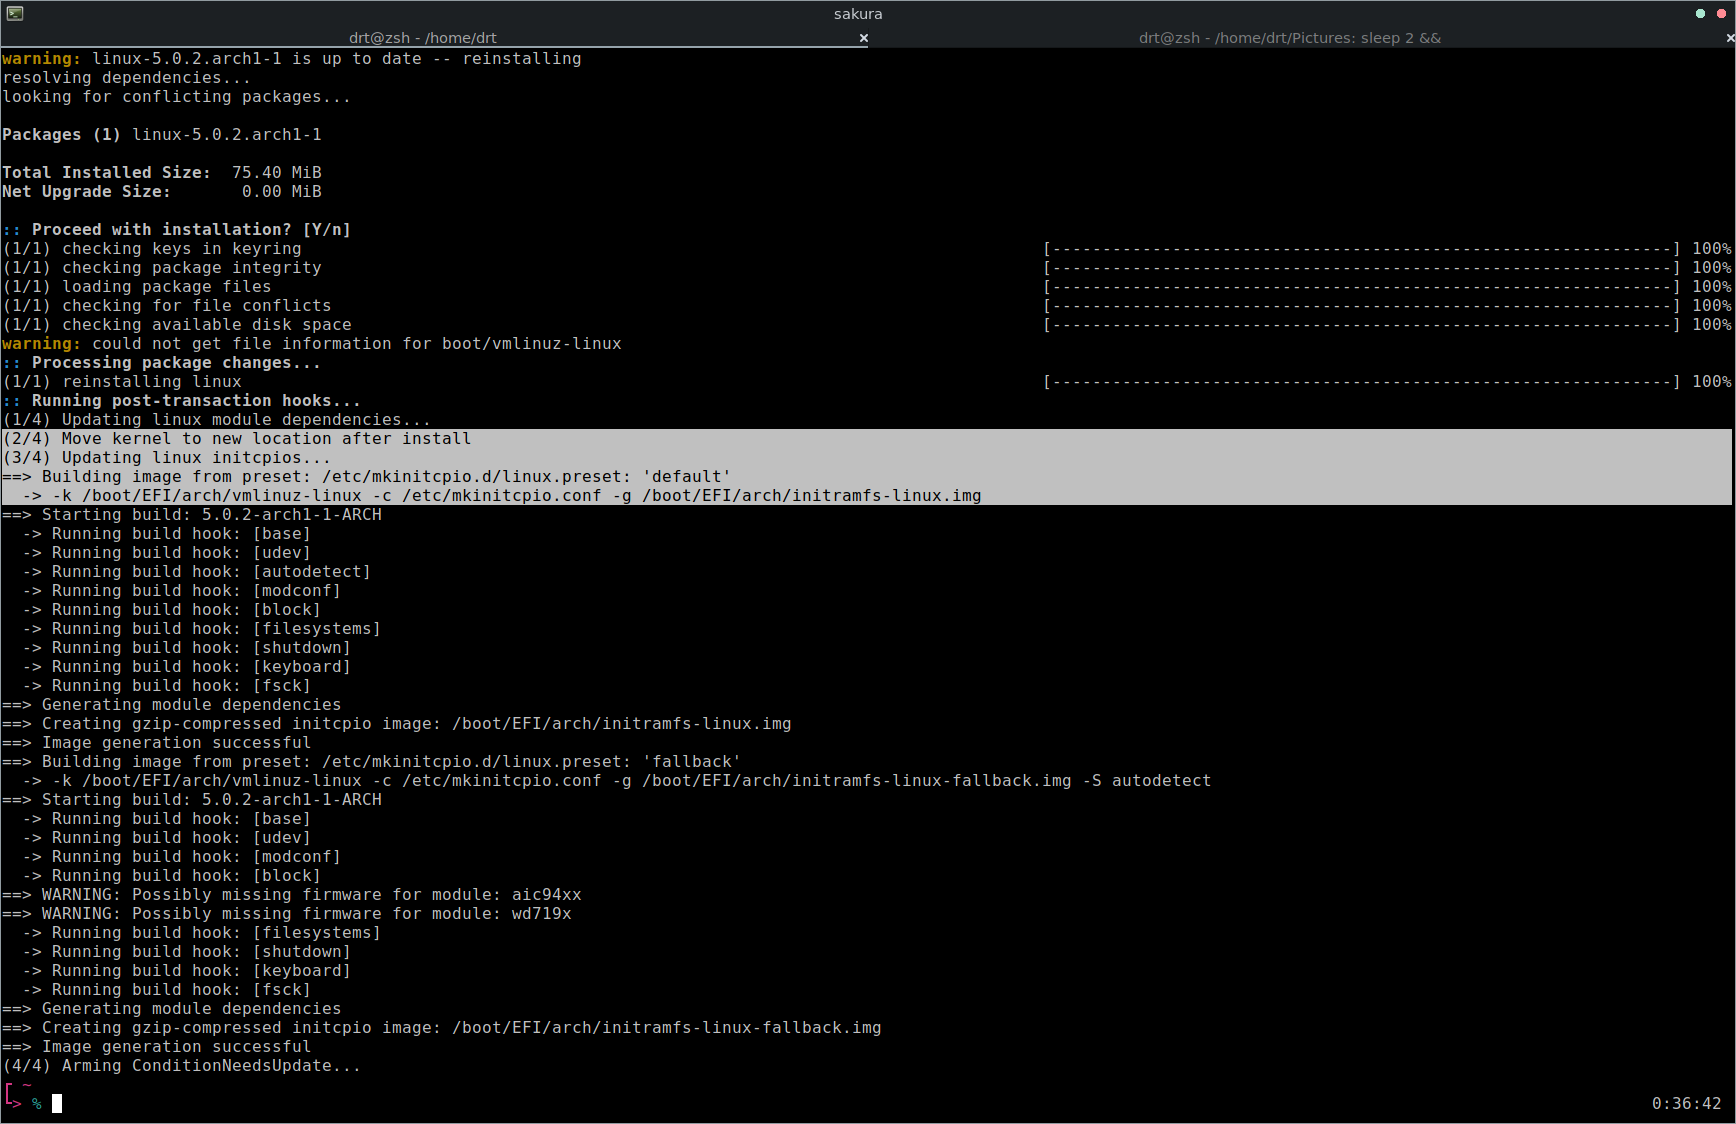
Confirm its working by reinstalling the linux package.
sudo pacman -Sy linux
ls /boot/EFI/arch

# initramfs-linux-fallback.img initramfs-linux.img vmlinuz-linux

ls /boot

# EFI memtest86+
Don’t restart your computer just yet. We still have some cleaning up to do.
Cleaning Up #
There are still a few issues with rEFInd that need to be taken care of and a few changes on the Kali system in order for it to boot properly.
ArchLabs Linux and rEFInd #
Open the refind config file for ArchLabs at /boot/EFI/arch/refind_linux.conf
We need to change the path for the initrd image.
Currently it is pointing to the root (eg /initramfs-linux.img) and it needs to point to /EFI/arch directory.
Make sure to update all instances of the initrd variables.
sudo nvim /boot/EFI/arch/refind_linux.conf
cat /boot/EFI/arch/refind_linux.conf
You can now reboot (into ArchLabs) without a problem.
Fixing Kali Linux #
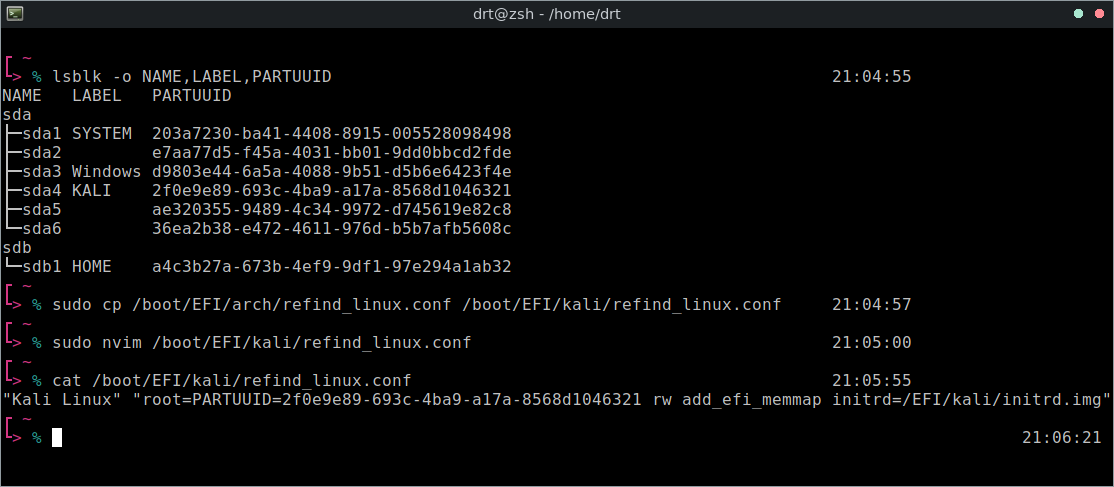
Copy the refind_linux.conf file in the arch directory to the kali directory.
Change the name of the distribution to “Kali Linux”.
Then, remove initrd=/EFI/arch/intel-ucode.img as Kali does not have it.
Replace root=PARTUUID= with the PARTUUID from the lsblk output.
lsblk -o NAME,LABEL,PARTUUID
NAME   LABEL   PARTUUID
sda
├─sda1 SYSTEM  203a7230-ba41-4408-8915-005528098498
├─sda2         e7aa77d5-f45a-4031-bb01-9dd0bbcd2fde
├─sda3 Windows d9803e44-6a5a-4088-9b51-d5b6e6423f4e
├─sda4 KALI    2f0e9e89-693c-4ba9-a17a-8568d1046321
├─sda5         ae320355-9489-4c34-9972-d745619e82c8
└─sda6         36ea2b38-e472-4611-976d-b5b7afb5608c
sdb
└─sdb1 HOME    a4c3b27a-673b-4ef9-9df1-97e294a1ab32
sudo cp /boot/EFI/arch/refind_linux.conf /boot/EFI/kali/refind_linux.conf
cat /boot/EFI/kali/refind_linux.conf
# output
"ArchLabs Linux"          "root=PARTUUID=ae320355-9489-4c34-9972-d745619e82c8 rw add_efi_memmap initrd=/EFI/arch/intel-ucode.img initrd=/EFI/arch/initramfs-linux.img"
"ArchLabs Linux Fallback" "root=PARTUUID=ae320355-9489-4c34-9972-d745619e82c8 rw add_efi_memmap initrd=/EFI/arch/intel-ucode.img initrd=/EFI/arch/initramfs-linux-fallback.img"
NOTE: Remember to run
lsblkon YOUR machine. Do not copy the output from above, that is there for reference only.
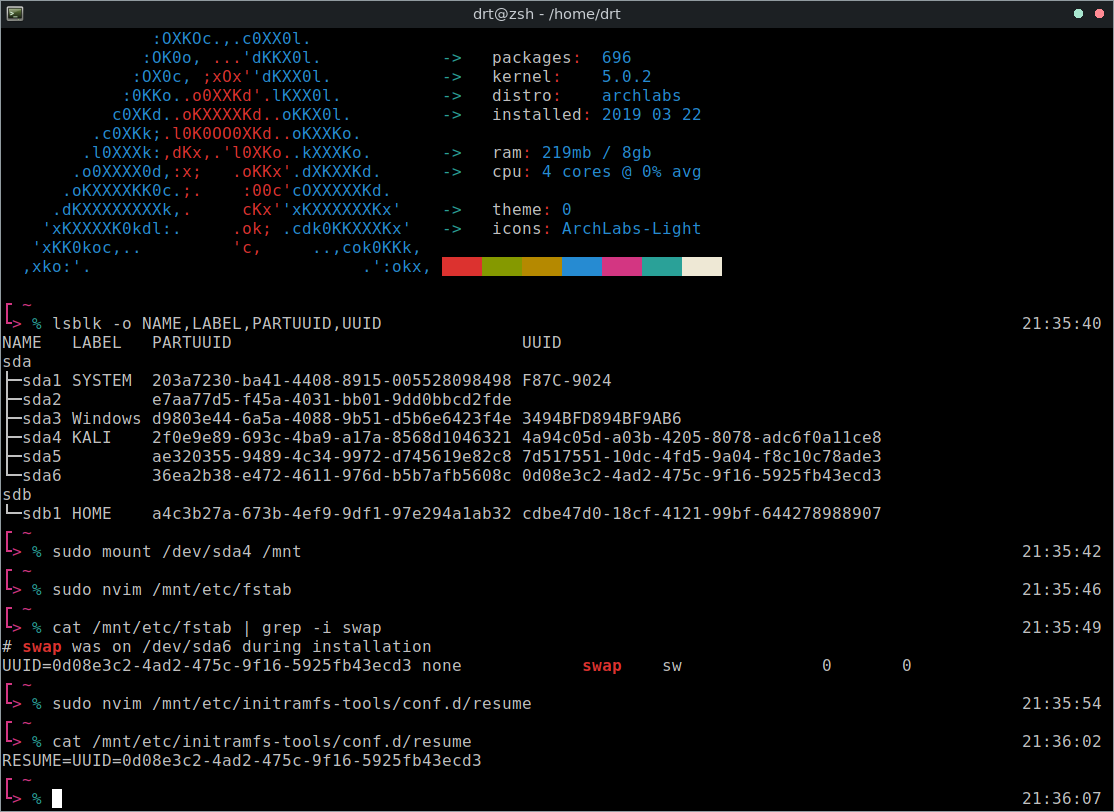
Now we need to fix the swap partition issue I pointed out earlier.
This time we’ll use lsblk to view the UUID, as thats whats required in fstab.
Next, mount your Kali installation to /mnt (/dev/sda4 is assumed, please confirm with lsblk).
Edit Kali’s fstab file and change the UUID of the swap partition to the one from lsblk.
The last file that references the swap partition by UUID is /etc/initramfs-tools/conf.d/resume.
Open the file and replace it as well.
lsblk -o NAME,LABEL,UUID
# NAME   LABEL   UUID
# sda
# ├─sda1 SYSTEM  F87C-9024
# ├─sda2
# ├─sda3 Windows 3494BFD894BF9AB6
# ├─sda4 KALI    4a94c05d-a03b-4205-8078-adc6f0a11ce8
# ├─sda5         7d517551-10dc-4fd5-9a04-f8c10c78ade3
# └─sda6         0d08e3c2-4ad2-475c-9f16-5925fb43ecd3
# sdb
# └─sdb1 HOME    cdbe47d0-18cf-4121-99bf-644278988907

mount /dev/sda4 /mnt
sudo nvim /mnt/etc/fstab
cat /mnt/etc/fstab | grep -i swap
sudo nvim /mnt/etc/initramfs-tools/conf.d/resume
cat /mnt/etc/initramfs/conf.d/resume
Thats it! Reboot your system to confirm you can boot successfully into all three of your systems!
Repairing an Unbootable System #
You might find yourself at some point with Linux operating systems failing to start properly.
This could happen for a number of reasons: putting the wrong PARTUUID in your configuration files; miss typing the initrd file; wrong path to load; etc.
You’ll likely be dropped into a basic shell similar to the following.
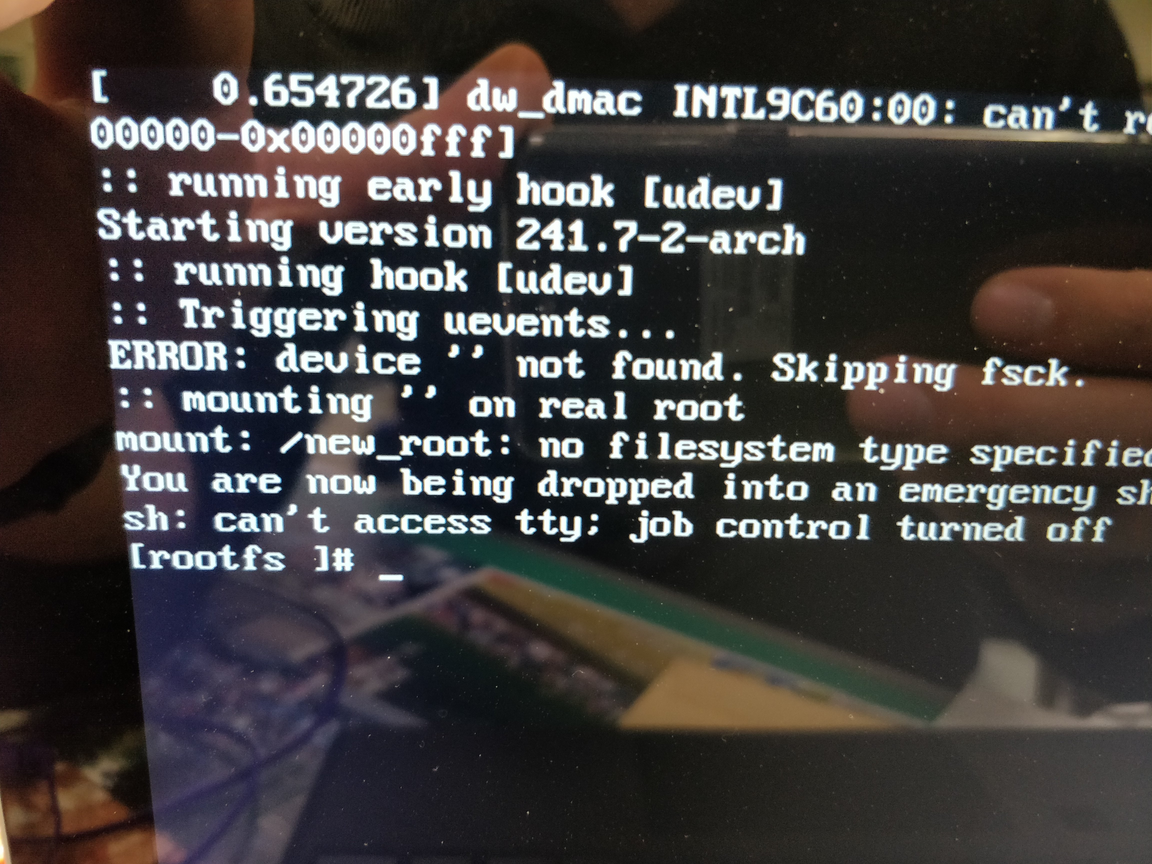
If this happens, you’ll have to mount the drive manually.
I could not, for the life of me, figure out how to manually mount the partition in Kali.
Every time I tried to mount /dev/sda4 to /root, it blew up at me.
I always had to log back into Arch, mount the drive, and fix the issue(s).
If this is your ArchLabs install.
Just type the following:
NOTE: Make sure to choose your correct device!
mount /dev/sda5 /new_root
exit
It should continue to boot as normal.
Conclusion #
You now have a complete, running, triple boot system running on your Surface Pro! Congrats! If you’re happy with keeping Secure Boot disabled, you can stop here. I do recommend checking out part 4 and part 5 as they will cover how to customize rEFInd to make it your own and how to make your own machine keys for your Surface and re-enable Secure Boot.