The following guide was used to tripple boot Windows 10, Kali Linux, and ArchLabs Linux on a Surface Pro 3; with a custom bootloader; and the option to enable Secure Boot with your own keys.
Installation Prerequisites #
You’ll need the following:
- USB with Kali Linux
- USB with ArchLabs Linux
- microSD Card (I’m using SanDisk Ultra 128GB microSDXC)
- Windows Recovery USB (optional)
- USB with Microsoft Surface Data Eraser (optional)
First things first,
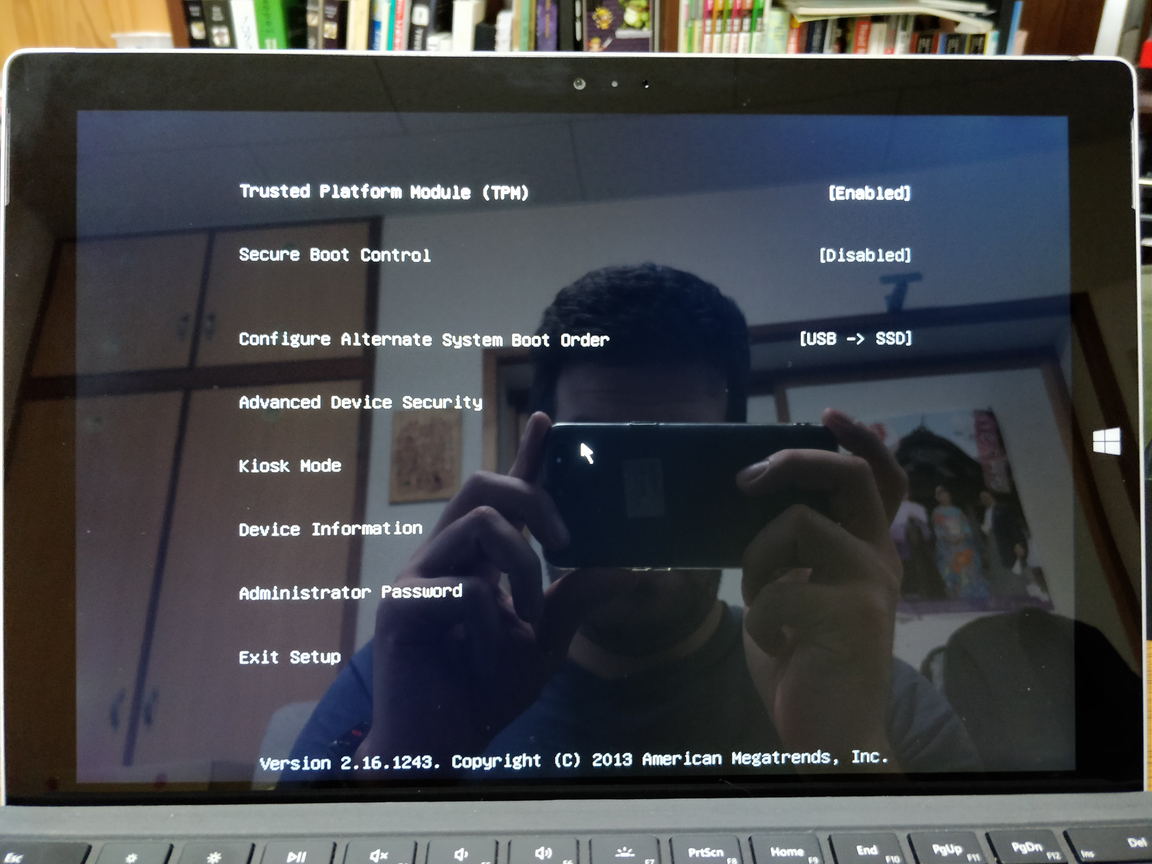
boot into BIOS/UEFI and disable Secure Boot and change the boot order to [USB -> SSD].
Your settings should look similar to the image below.
If you’re running a Surface Pro 4 or later, your UEFI settings will be managed differently.
Insert the microSD Card and format it (this will be /home for the Linux paritions and will be reformatted later)
Step 0: Refresh Hard Drive #
This step is optional, and only recommended if you want to remove all the data and start with a clean, prestine Windows installation to work with. MAKE SURE YOU HAVE ALREADY CREATED A RECOVERY USB FOR YOUR SURFACE
Remove All Partitions #
Use a Linux Live USB and use GParted to remove all partitions. I recommend using the Kali Linux USB you plan to use to install later.
Setup Your Hard Drive for Windows #
Follow Microsoft’s guide to use Microsoft Surface Data Eraser to repartition your hard drive. This will allow you to reinstall Windows on a clean hard drive and it will create the EFI system partition for you.
Reinstall Windows #
Use your RECOVERY USB to reinstall Windows.
Select Troubleshoot -> Recover from a drive -> Just remove my files -> Recover
After you’ve gone through the installation process, make sure you aquire all the latest updates. This can take A LOOOONG TIME though.

Step 1: Windows Side of Things #
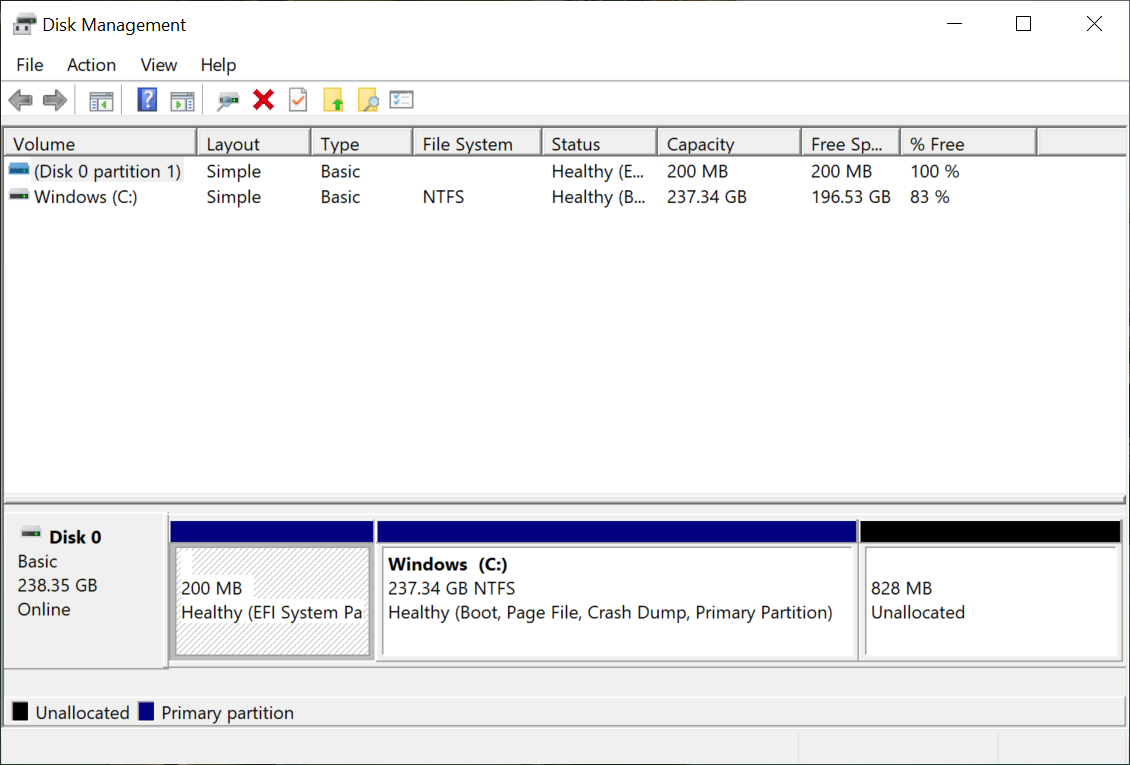
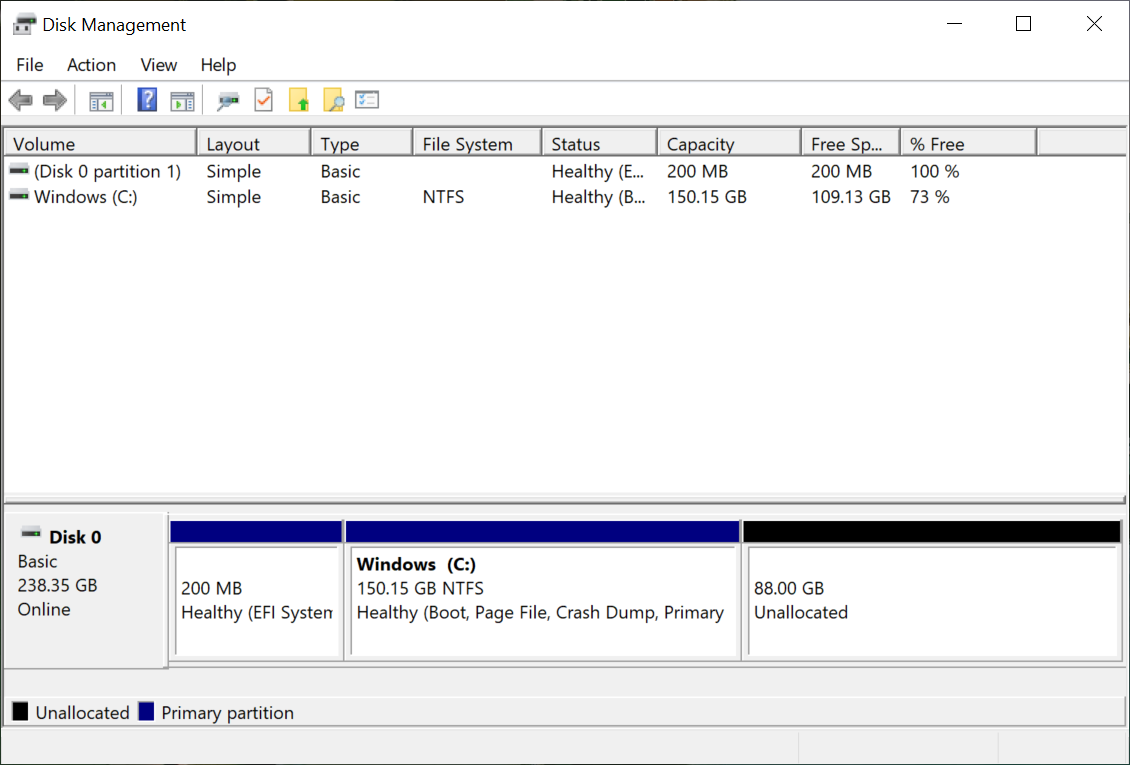
Log into your Windows partition and open the Disk Management tool.

Removing Extra Partitions (optional) #
Chances are you will see a partition titled: Healthy (Recovery Partition)
The Disk Management tool will not allow you to remove it.
If this is the case, close the Disk Management tool and open a Command Prompt as Administrator and use DISKPART to remove the partition.
Otherwise, skip this step.
diskpart
select disk 0
list partition
select partition X  # where X is the partition number
delete partition override
exit

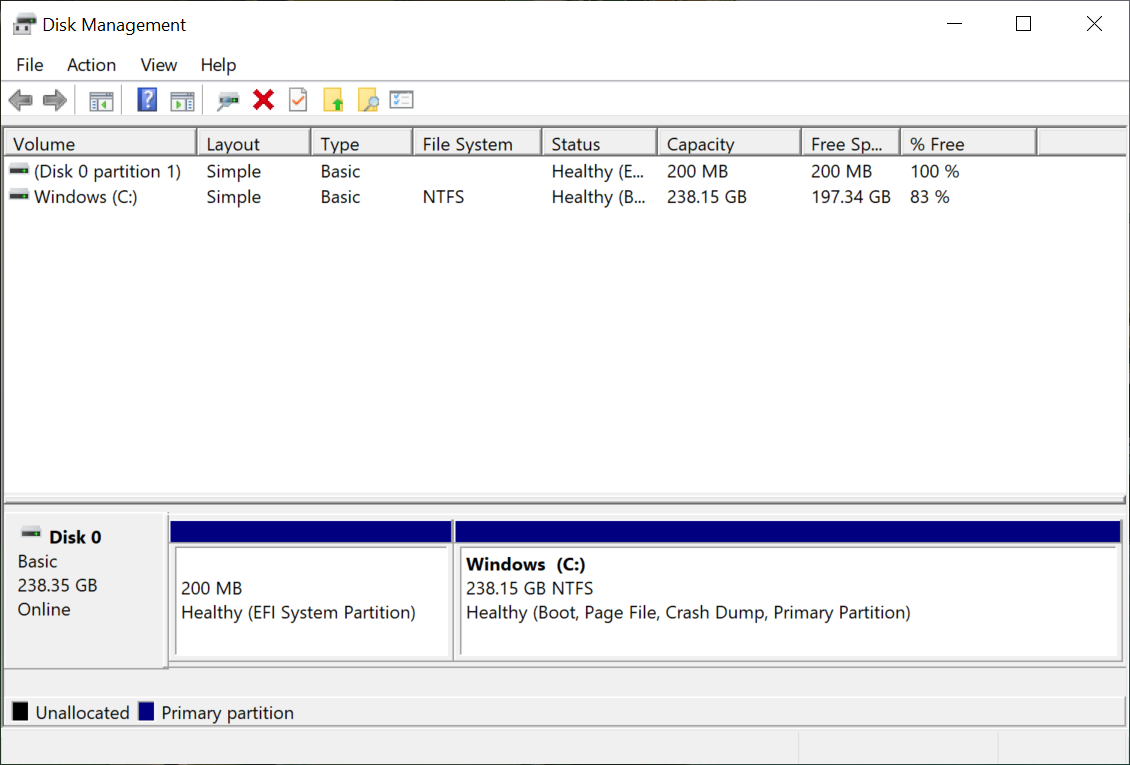
Reopen the Disk Management tool and extend the Windows partition to reallocate the space the empty space. You could leave it unallocated, but I prefer reallocating and then shrinking the drive.
Setup Disk Partition Layout #
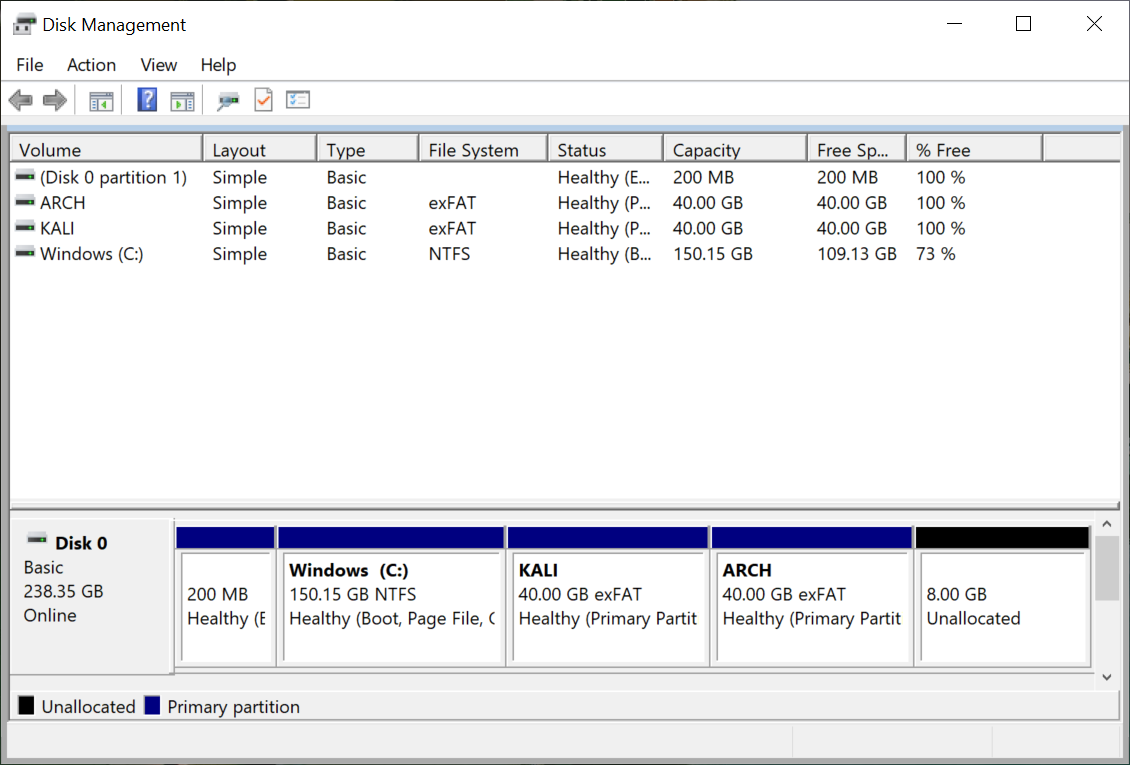
Next is to create the partition layout for your drive. Adjust to fit your needs, my final layout ended up being:
Internal Hard Drive
| Device | OS | Size | Mount Point |
|---|---|---|---|
/dev/sda1 |
EFI System Partition | 200 MB | /boot |
/dev/sda3 |
Windows | 160 GB | C: |
/dev/sda4 |
Kali | 40 GB | / |
/dev/sda5 |
ArchLabs | 40 GB | / |
/dev/sda6 |
Swap | 8 GB | swap |
microSD Card
| Device | OS | Size | Mount Point |
|---|---|---|---|
/dev/sdc1 |
Kali + ArchLabs | 128 GB | /home |
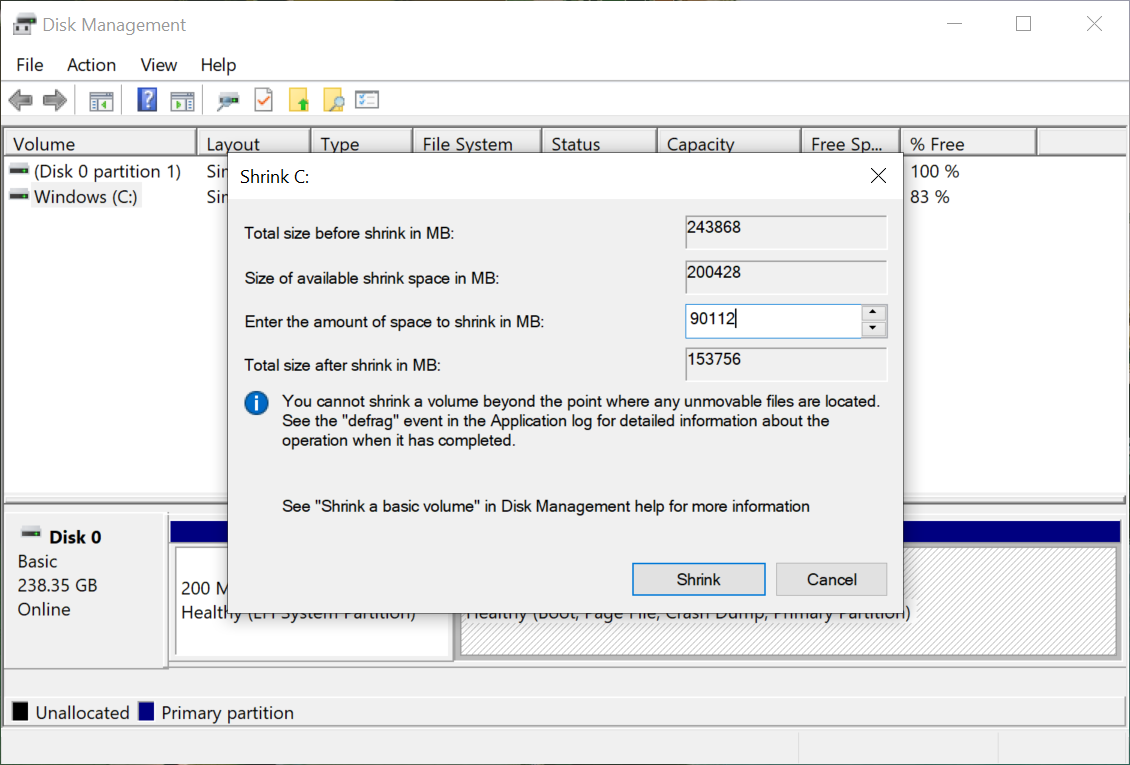
To match the layout in the table above, the amount of space to shrink the Windows partition down by is 90112 MB
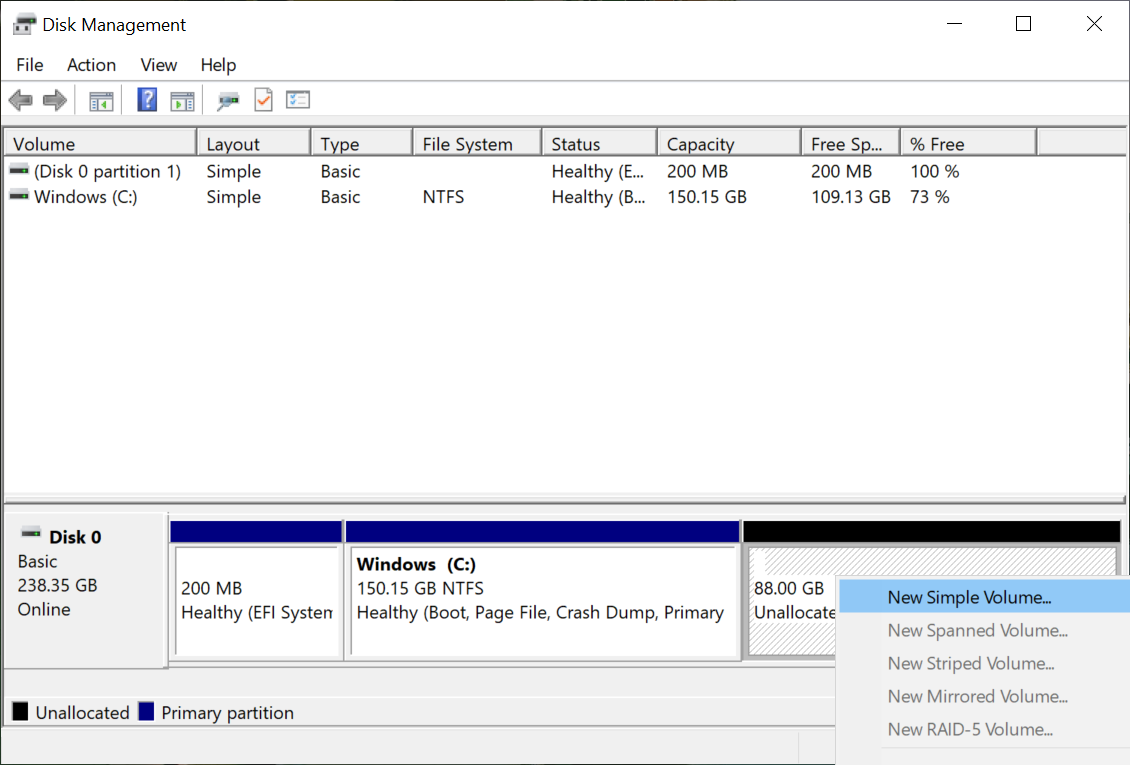
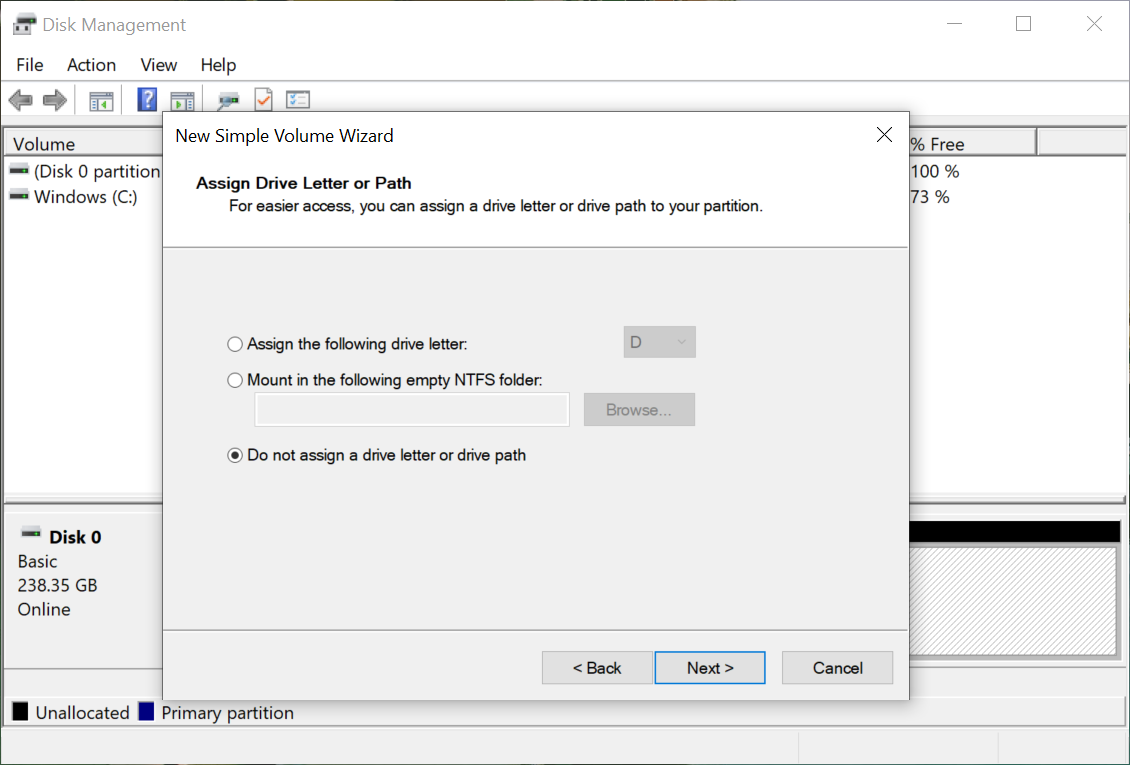
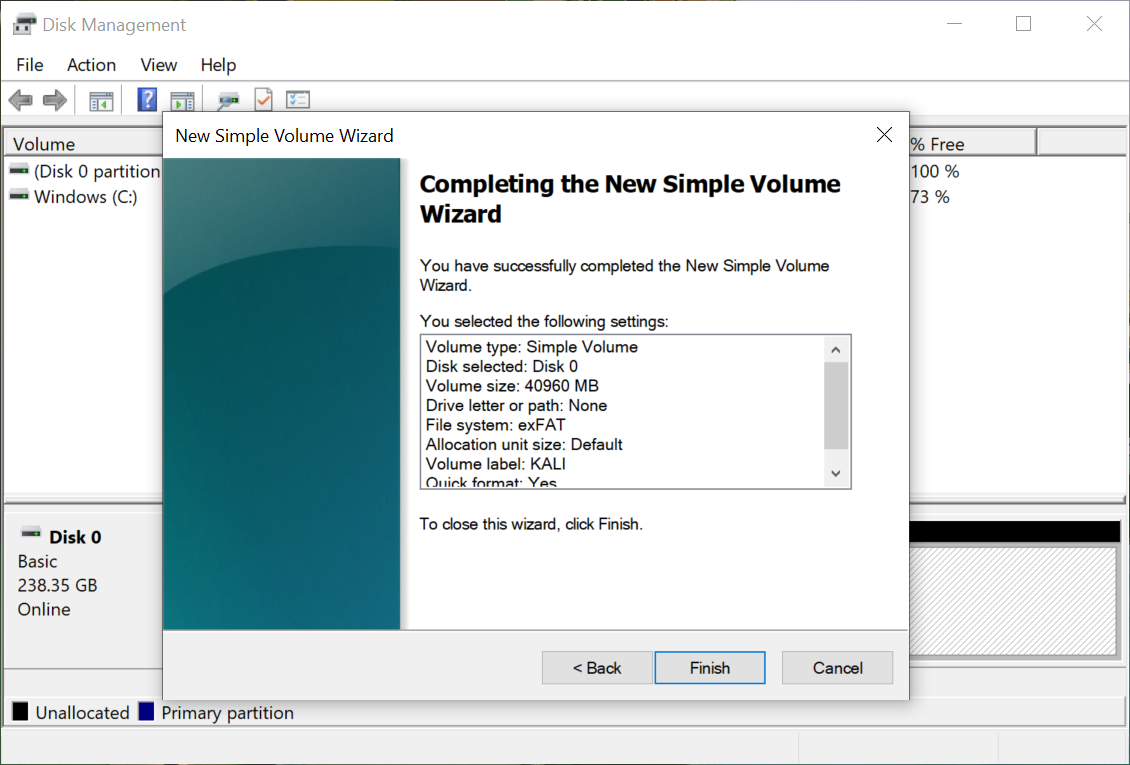
Create two partitions for Kali and ArchLabs:
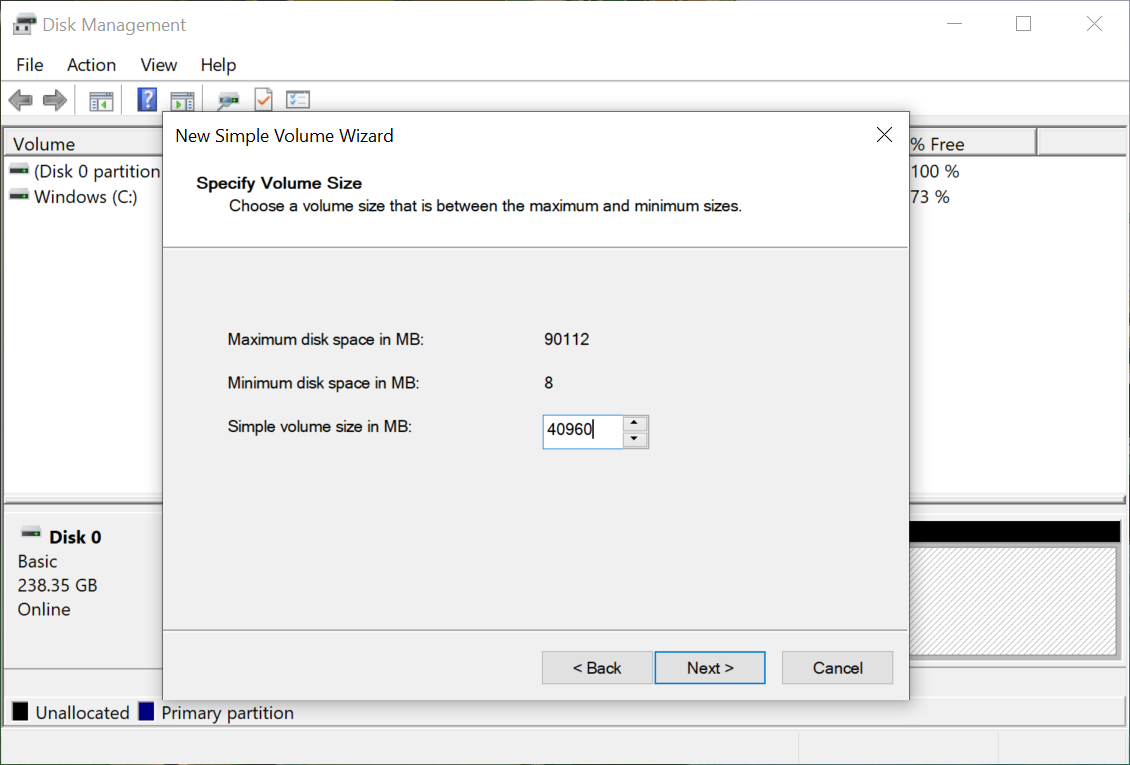
- New Simple Volume
- Simple volume size in MB: 40960
- Do not assign a drive letter or drive path
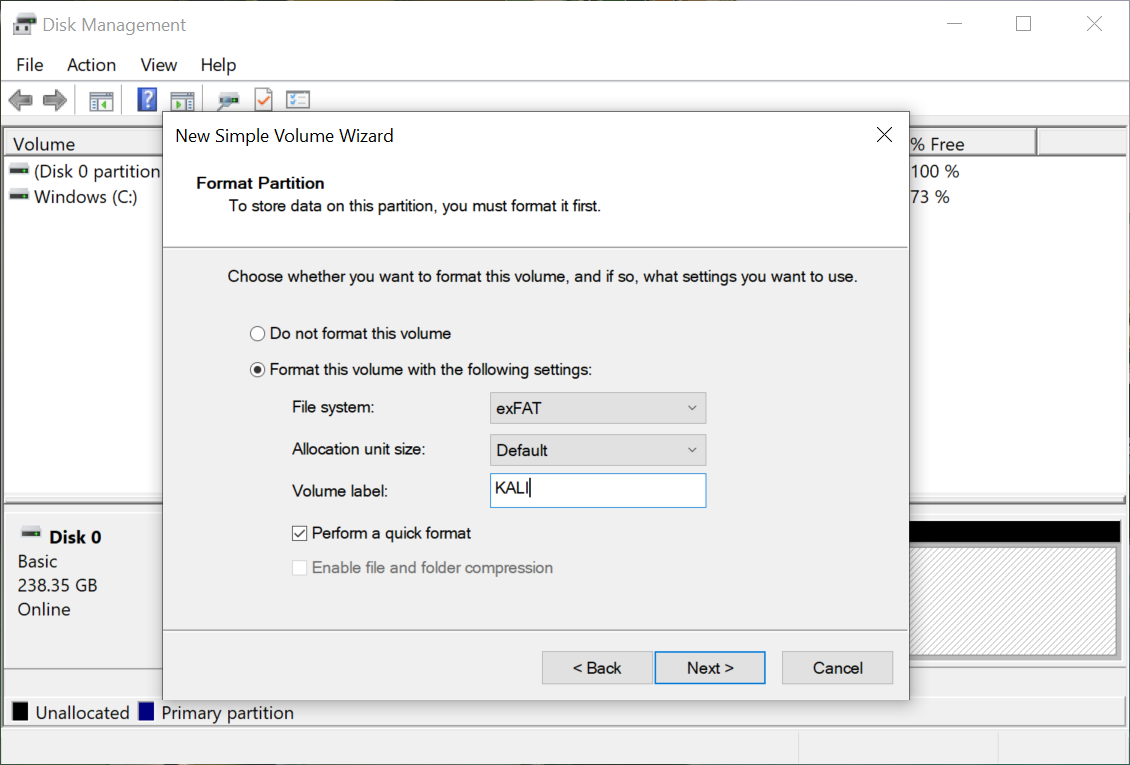
- Format Partition
- File system: exFAT
- Volume Label: “KALI” or “ARCH”
Leave the remaining unallocated 8GB for swap. That will be created during the Kali installation.
Install WinBtrfs (optional) #
If you plan on using btrfs as your primary partition format, be sure to install WinBtrfs. Its still under active development, but good enough for day-to-day tasks and viewing your file systems on Windows. There is a very large NOTICE in the Readme file though. Decide if its worth the risk.
Windows setup is complete! You can go to the next section to install Kali Linux on the Surface Pro!