Surface Pro 3 Triple Boot Part 2: Kali Linux
Table of Contents
Surface Pro 3 Triple Boot - This article is part of a series.
This is part 2 of how to set up a triple boot system on a Surface Pro 3. In the first part, a fresh copy of Windows was installed and the drive partition layout was created. In this section, Kali Linux will be installed on the system. If you haven’t already, download a Kali ISO of your choice and create a bootable USB.
Installation #
I wont go over too much about how to install Kali Linux, as the GUI installer is very straightforward. There will be some specific things to handle when you choose how to handle partitions. However, if you would like to follow along for the whole process. I took screenshots during the install process and put them on a seperate page. Hopefully this will help until I can get somethimg similar to hugo-easy-gallery working.
NOTE: The mouse/trackpad didn’t work with the Surface 4 TypeCover, but the whole setup can be done without a mouse. It will just be a lot of
TABpressing and moving with arrow keys. If you have already paired a Surface Pen with your device, you can use that! (thats how I was able to take the screen shots).
Insert the Kali Linux USB and boot into the Graphic Installer. Continue with the install as normal until you arrive at the partitioning section.
Partition Disk #
When you arrive at the Partition disk section, choose Manual.
root Partition #
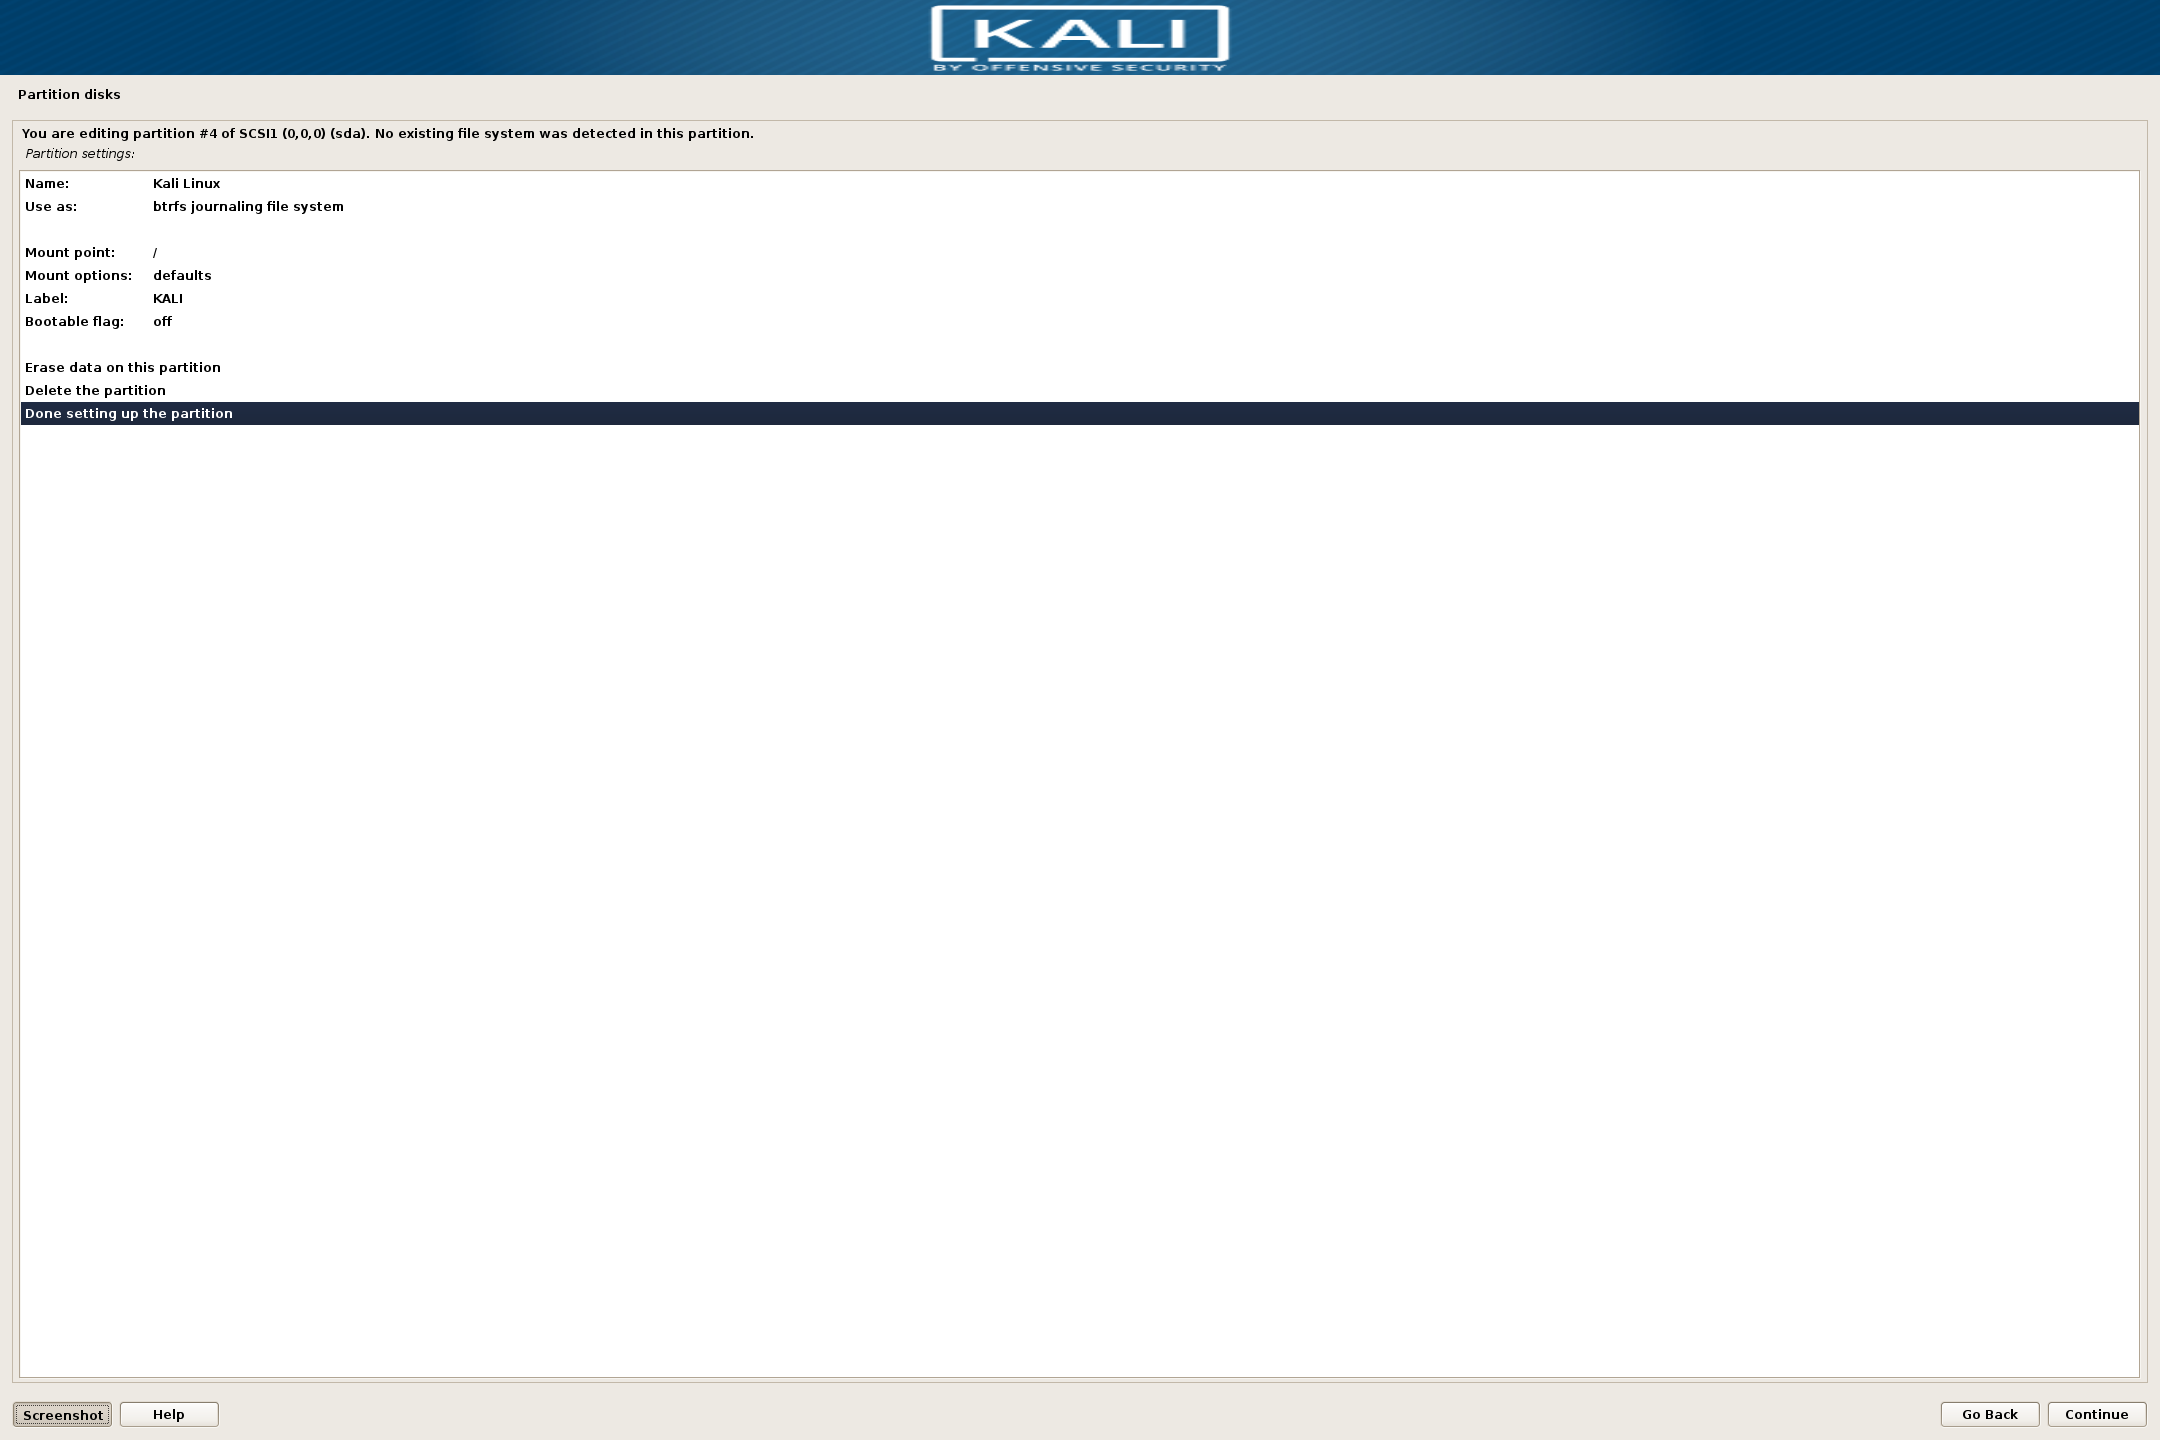
Find the partition that you labled “KALI” from earlier (in my case it was #4). Select it and apply the following options:
- Name: Kali Linux
- Use as: btrfs journaling file system (or your prefered file system)
- Mount point:
/ - Label: KALI
- Bootable flag: off
swap Area #
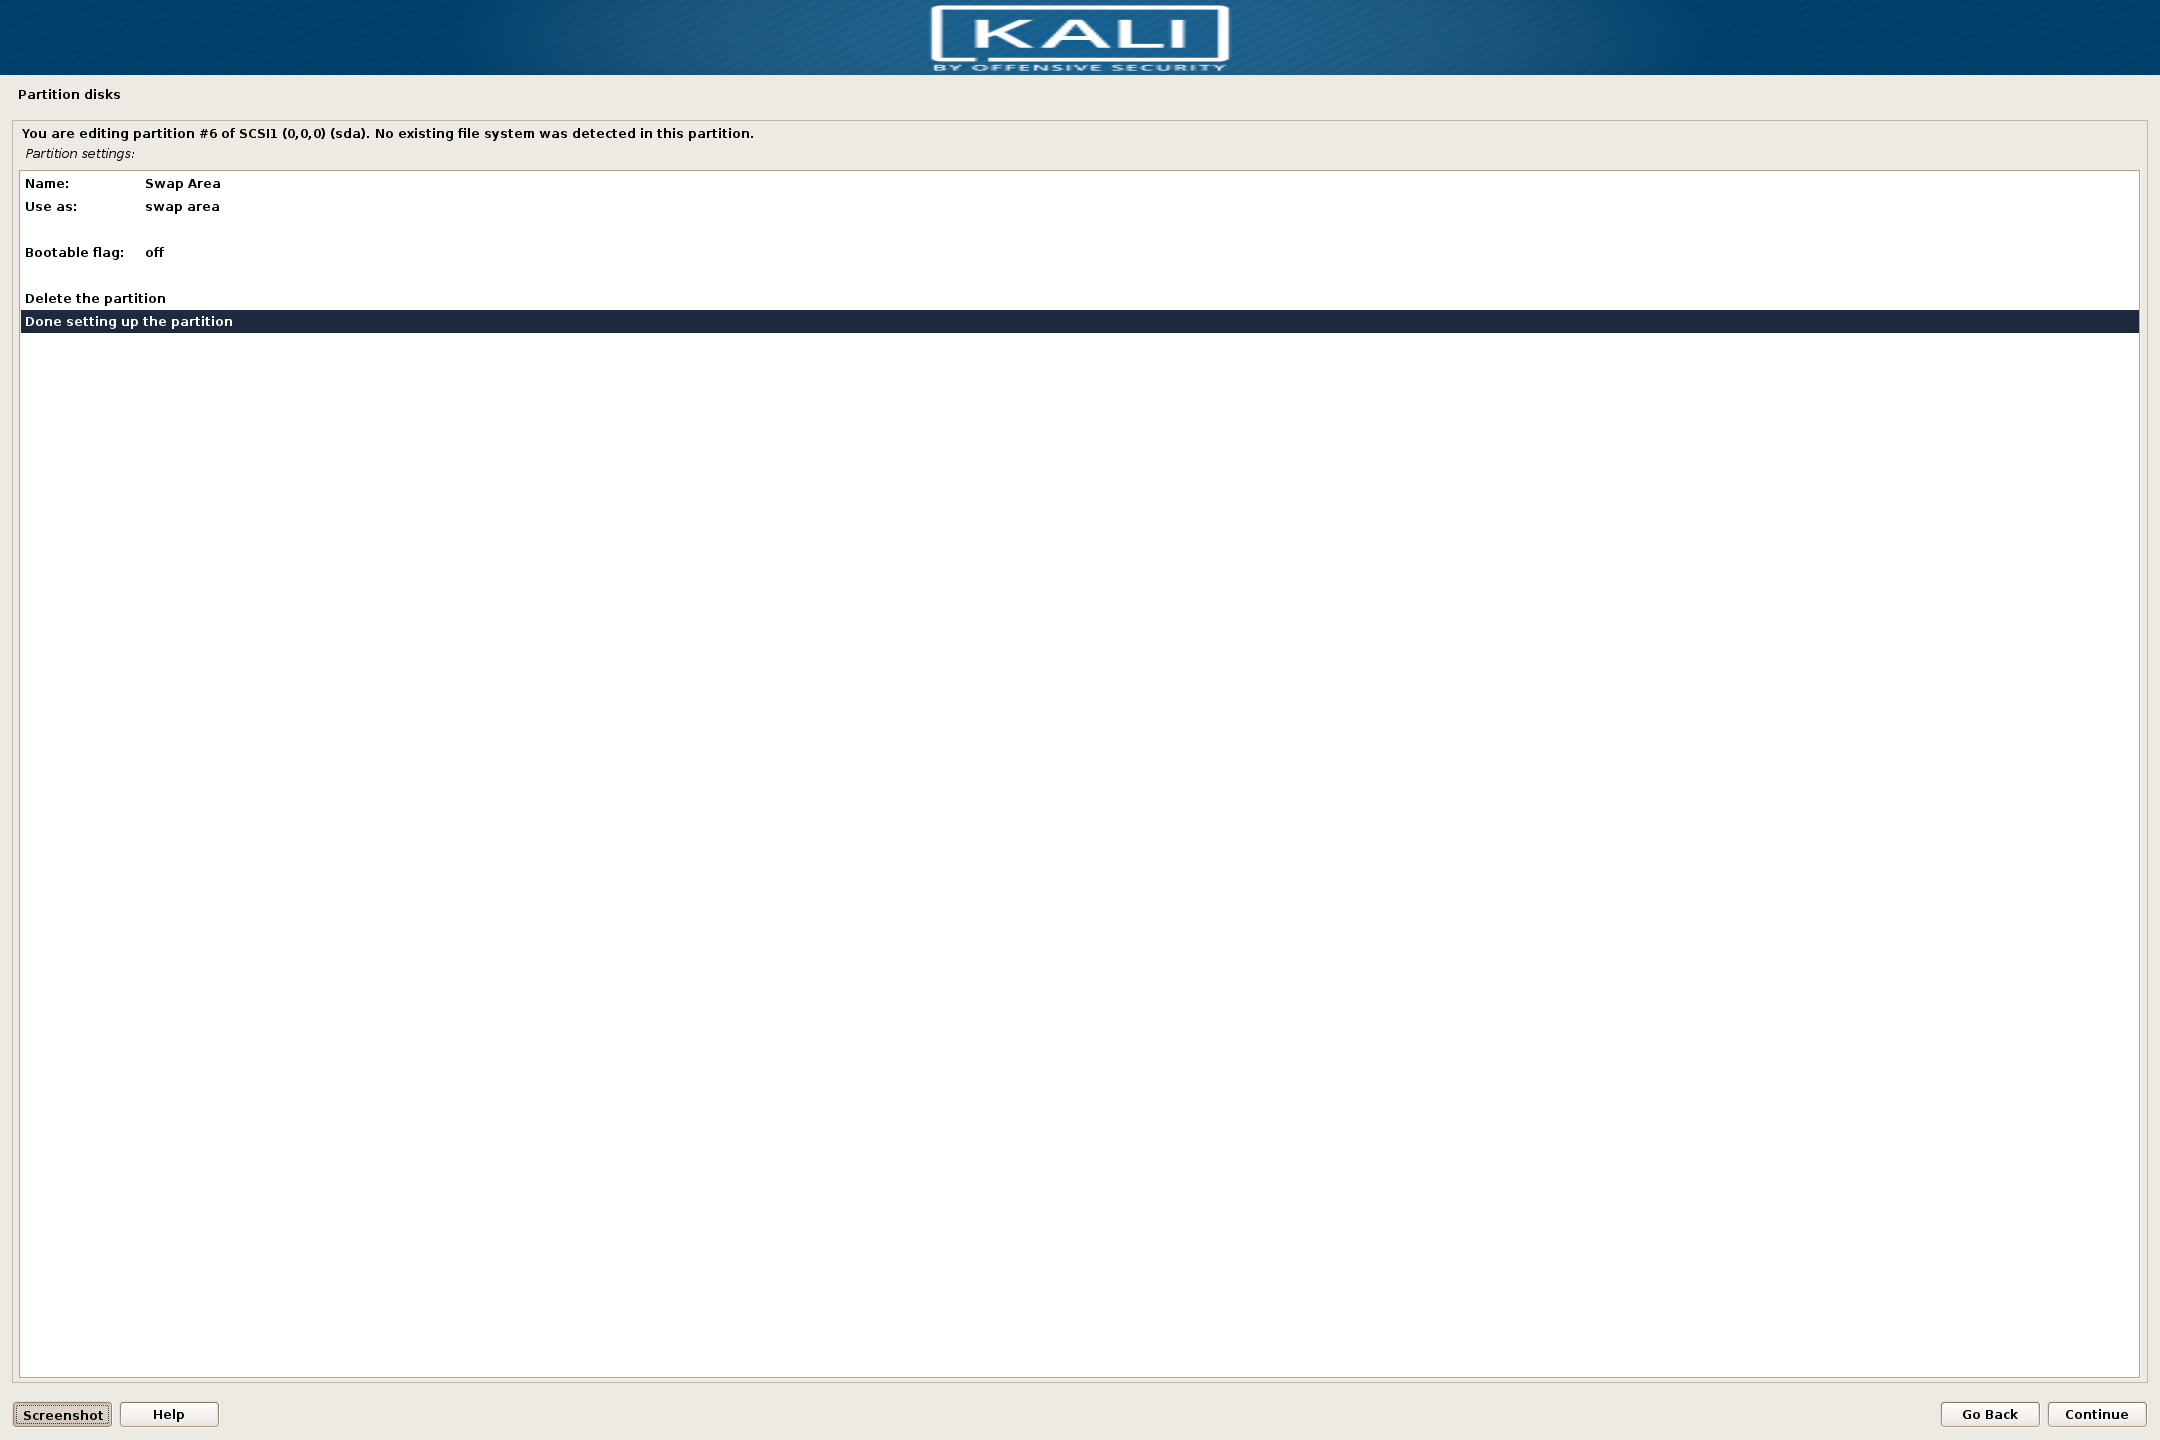
Select the ~8 GB of FREE SPACE availabe on your drive. You’ll be prompted with how to use it. Choose “Create a new partition” and then set the following options:
- Name: Swap Area
- Use as: swap area
- Bootable flat: off
home Directory #
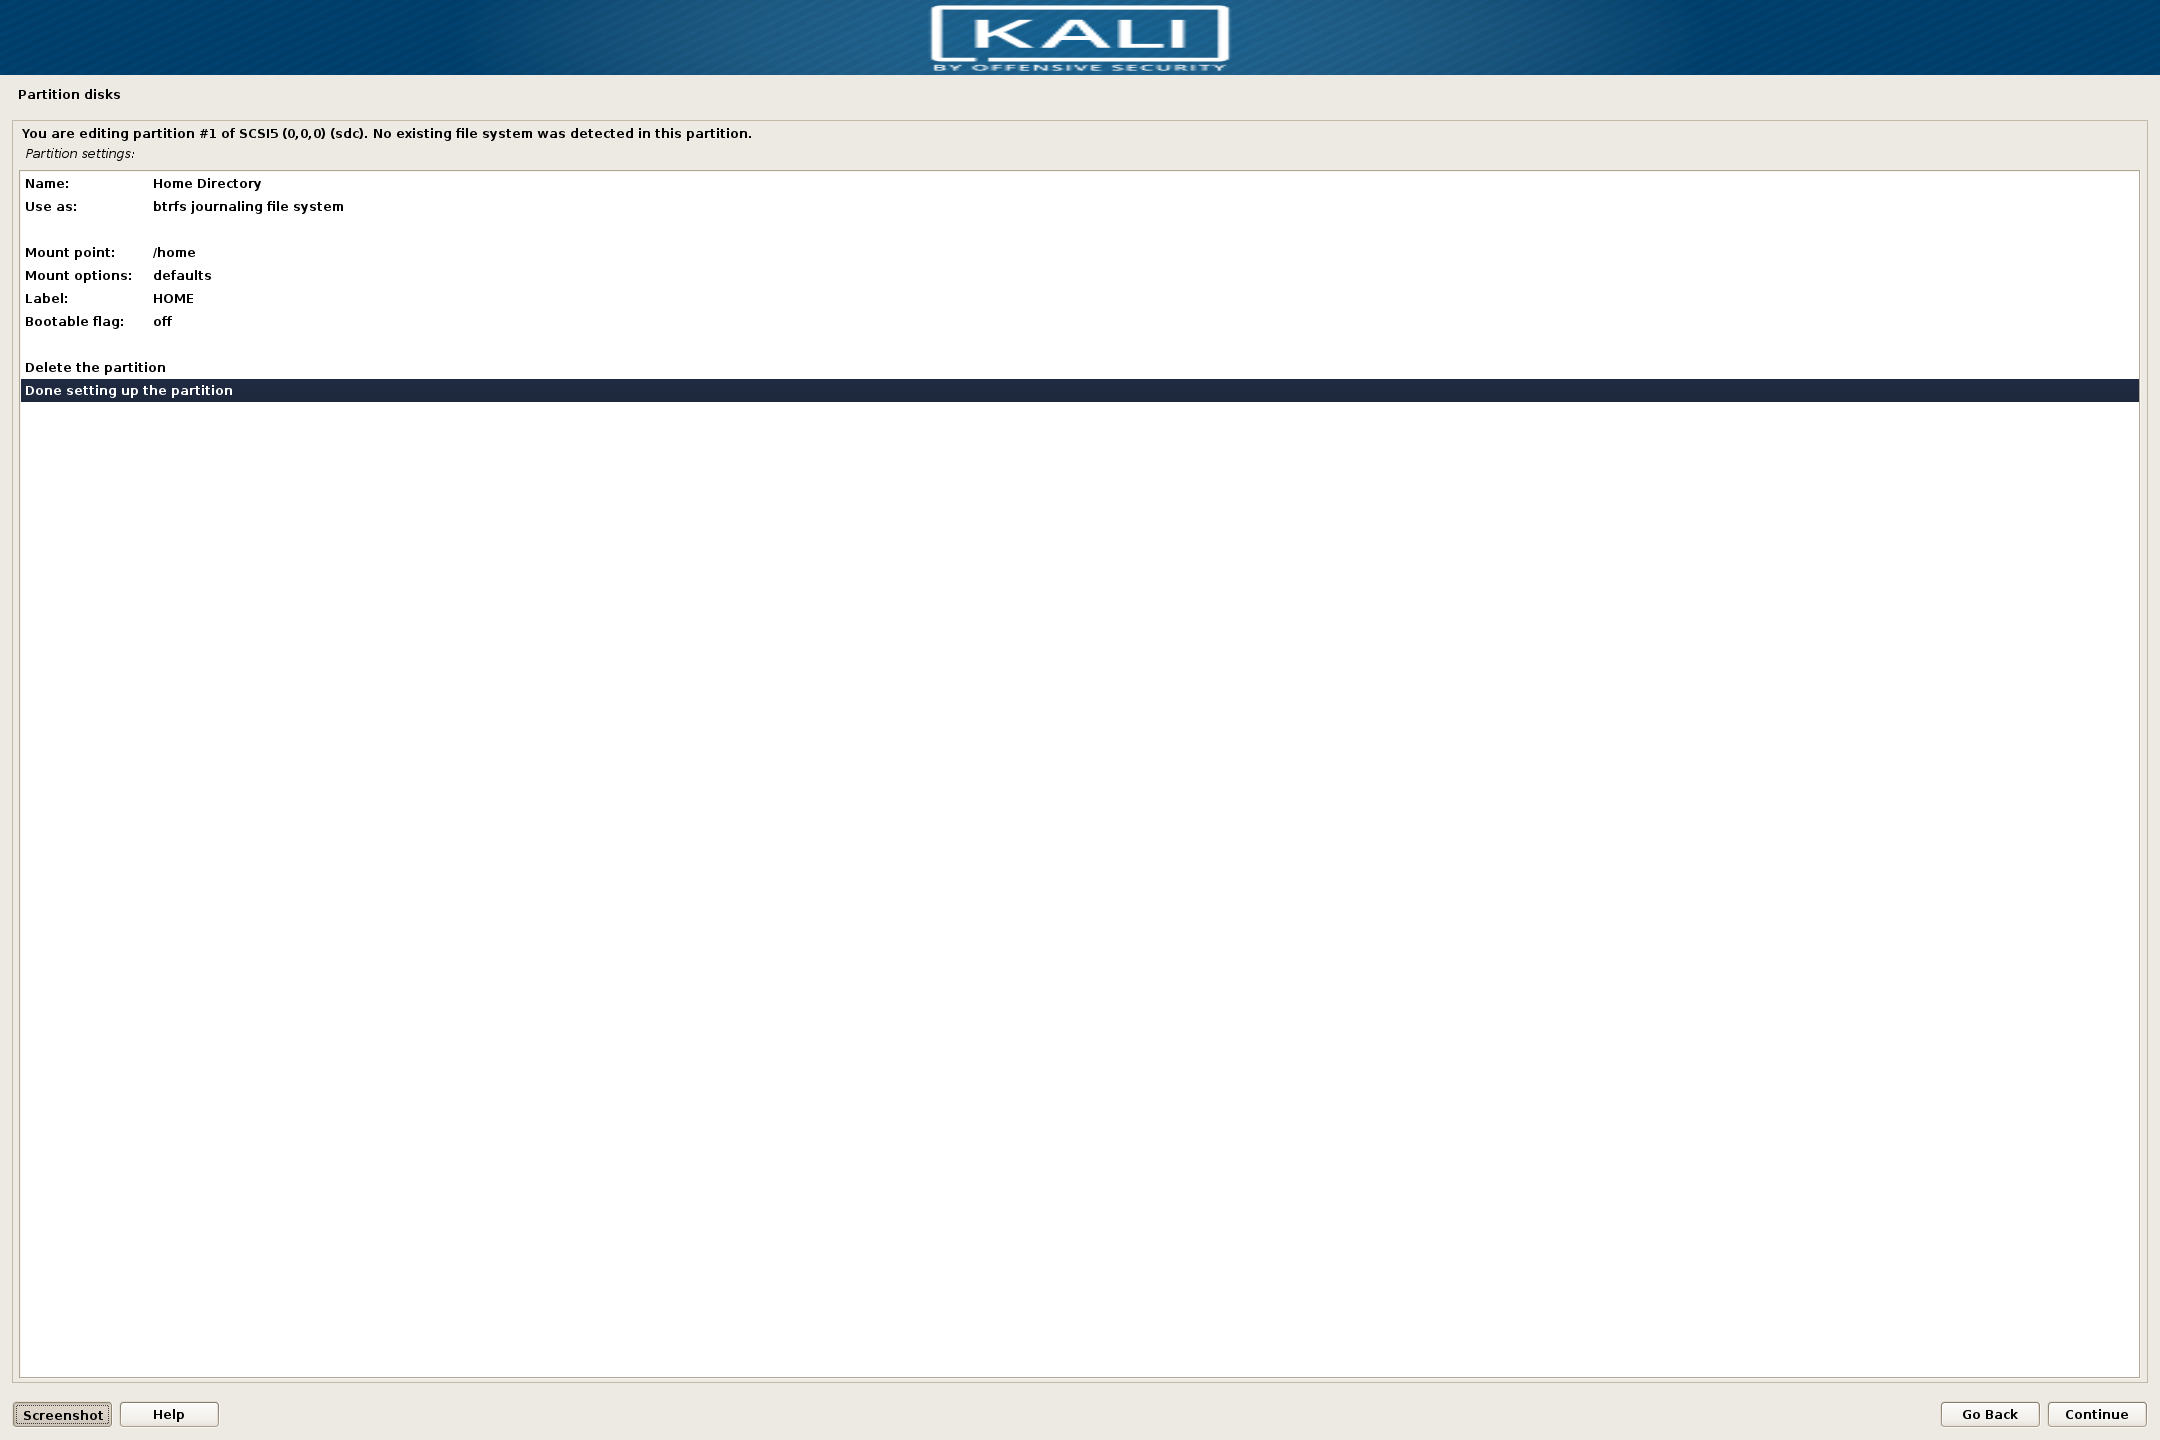
Find the microSD card amongst your devices (in my case it was /dev/sdc). Select the only partition available and set the following options:
- Name: Home Directory
- Use as: btrfs journaling file system (or your prefered file system)
- Mount point:
/home - Label: HOME
- Bootable flag: off
Commit changes to disk.
Go through the rest of the installation process as normal.
Restart your Surface!
You should be greeted with Kali’s GRUB bootloader.

Start Kali and proceed with the post-install setup.
Post Install #
Log in as root, upgrade the system, and install the efitools and sbsigntool packages.
apt update && apt upgrade --yes && apt install efitools sbsigntool
This can take quite a bit of time so grab yourself a coffe, tea, biscuit, whatever.
Fortunately, this shouldn’t take as long as the Windows updates.
But really though, go do something else…
Change root User’s Home Directory #
As I mentioned earlier, the microSD card will house all user’s home directories across all linux installations.
NOTE: As I will be the only one using the Surface Pro, I felt that this course of action was a solid solution for me. You may feel differently. Remember, if you install other Linux installations, be sure to CHOOSE DIFFERENT USERNAMES across them. Having the same
/home/my-userdirectory shared across multiple distributions can lead to compatibility problems.
Since root is the only user on the Kali machine, it has a special home directory, /root.
This is the location of the root user’s home reguardless of the distribution.
Let’s move it to our microSD card.
cp -vr /root /home/.

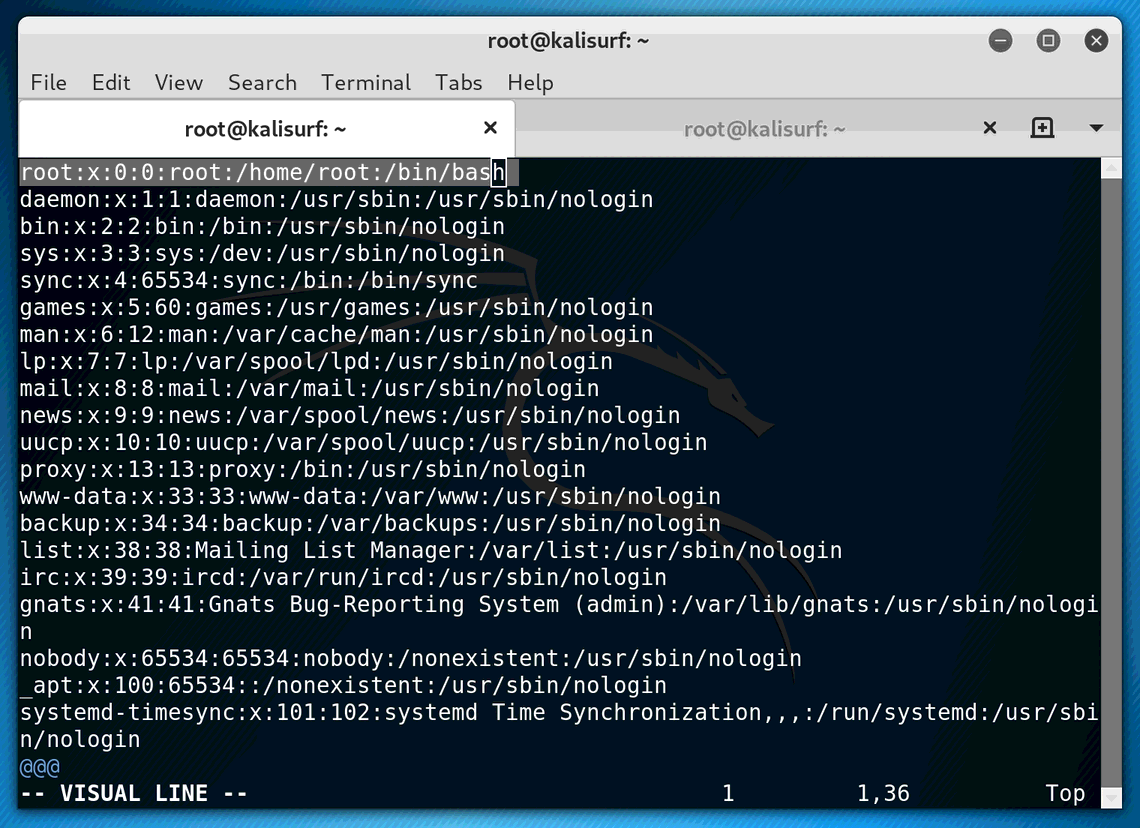
sudoedit /etc/passwd
On the first line should be the root user’s information, change /root to /home/root like the figure below.
Log out (or restart) and log back in to confirm everything is working properly.
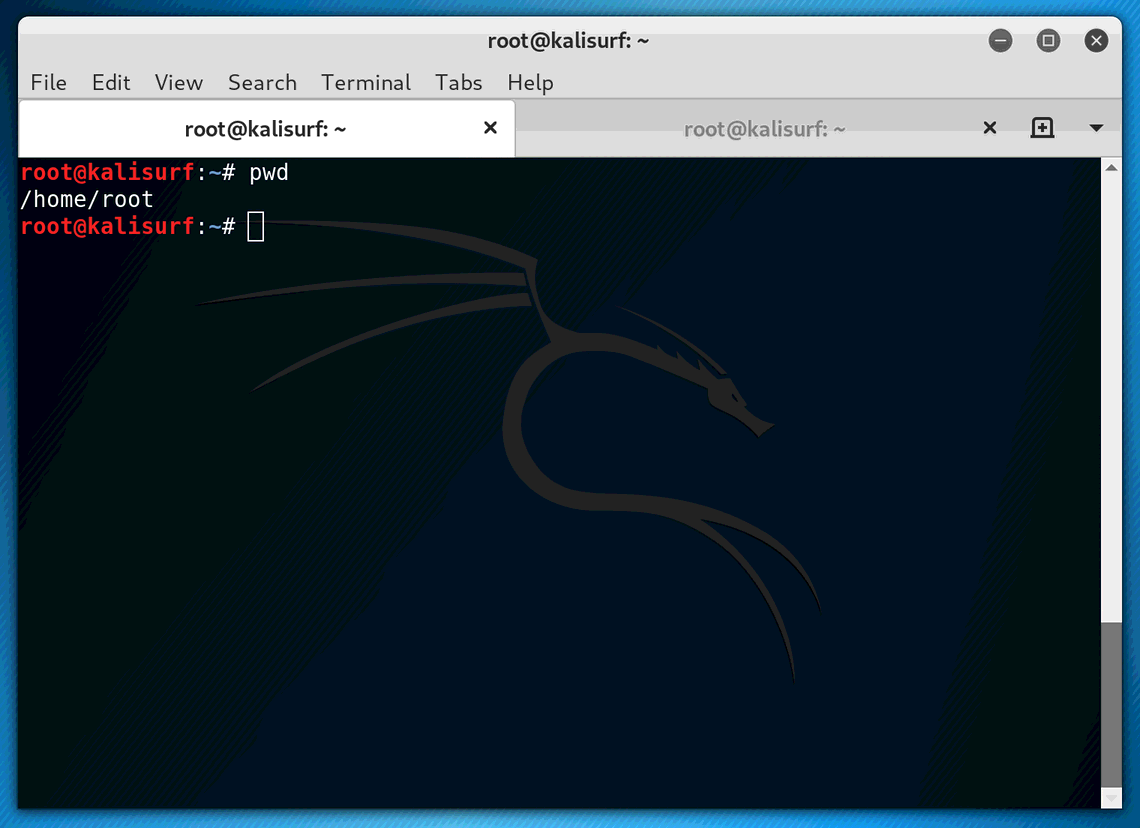
Open a terminal and type pwd (remember, the terminal will start you in $HOME).
It should now show /home/root
pwd
/home/root
Kernel Management #
Kali, as of the 2019.1a release, will mount your EPS partition at /boot/efi. Confirm this is the case in fstab before continuing as this guide assumes that is the case, otherwise adjust the scripts accordingly.
I put together all the scripts and configuration files used throughout this guide on my Github page for ease of access. However if you feel you would like to copy/paste and view the code before hand, I put them on a separate page to be viewed. This guide assumes you have downloaded the zip file and have placed its contents in
~/surface-pro-config.
We will need to keep the kernel for each installed Linux system organized as to not override each other during installation or cause conflicts.
A simple way is to keep a folder for each OS and store its associated files in each.
The end goal will be for each distribution to have its own area to store vmlinuz and their respective initramfs files on your machine’s EFI Partition System.
Let’s make a folder for Kali Linux.
mkdir -pv /boot/efi/EFI/kali
To ensure that the kernel is kept up to date and available for our to-be bootloader, copy zz-move-kernel to the postinst.d folder.
cp -v kali/etc/kernel/postinst.d/zz-move-kernel /etc/kernel/postinst.d/zz-move-kernel
chmod 755 /etc/kernel/postinst.d/zz-move-kernel
This file will be ran after any kernal update or installation, ensuring that the kernel and its associated files are placed in the correct directory for our bootloader.
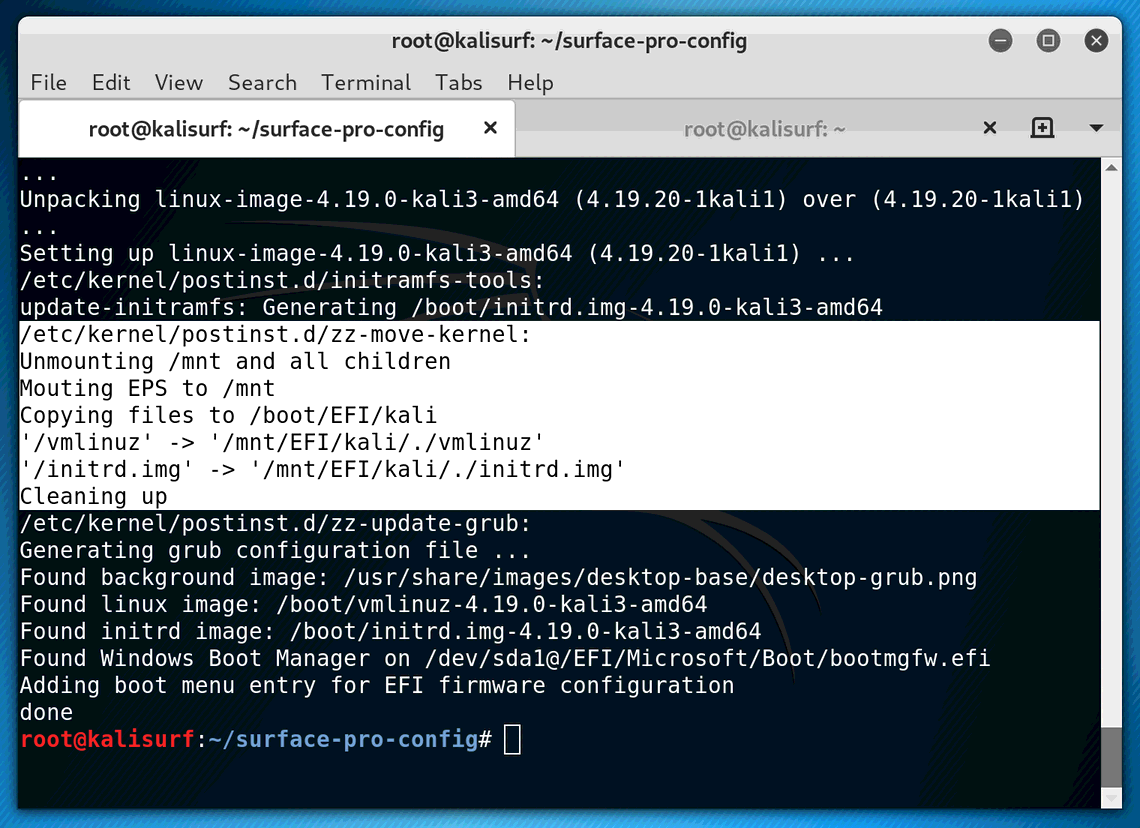
You can test to make sure that the script is working by reinstalling the current kernel version on your system.
At the time of writing, Kali Linux ships with version 4.19.0-kali3.
Your version may be different, be sure to check /lib/modules to confirm which versions are available for reinstallation.
Once the kernel reinstalls, you should see an output similar to the following figure.
This means that the zz-move-kernel script is working as it should!
apt reinstall linux-image-4.19.0-kali3-amd64
Remove grub #
As mentioned in the
previous post, we will be using the
rEFInd boot manager at the end of this guide.
Any kernel installation on Kali will run the grub commands and potentionally override your boot order.
Best to remove grub now.
Don’t worry though, it is still installed on your system’s EPS, and you will still be able to log into Kali or Windows after you purge your system of it.
apt purge grub*
apt autoremove --purge
Conclusion #
Be sure to continue on to the next section! Finally, installing our third and last operating system, ArchLabs Linux!